What are speaker notes? There is a space underneath each slide where you can insert the key talking points about a presentation so that you don’t forget while presenting. It also helps you display the components of a topic in chronological order.
In this tutorial, you will learn to add notes in Google Slides, edit and remove them as required, where to place them, and how to present using speaker notes. Let’s begin!
Adding Speaker Notes
Step 1: Open your Google Slides presentation.
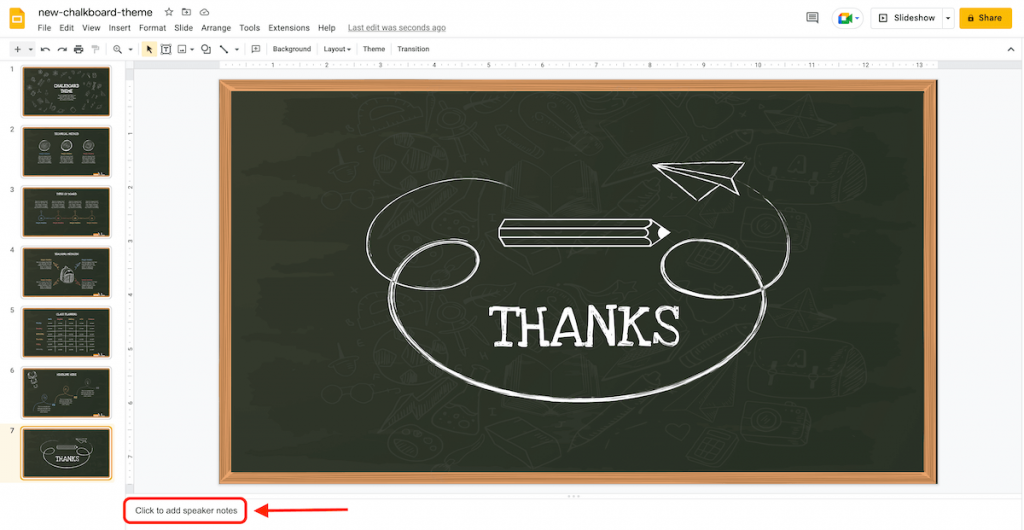
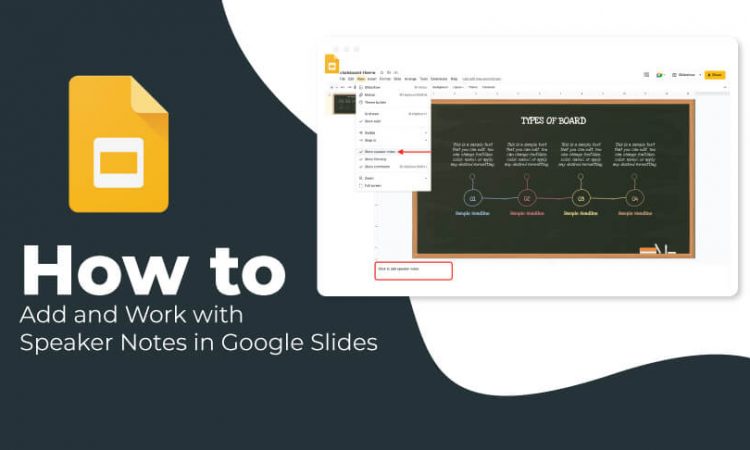
Step 2: Underneath each slide, you will find a text box with the text ‘Click to add speaker notes.’ You can insert your content in the box. It will be visible to you while presenting, not to your audience.
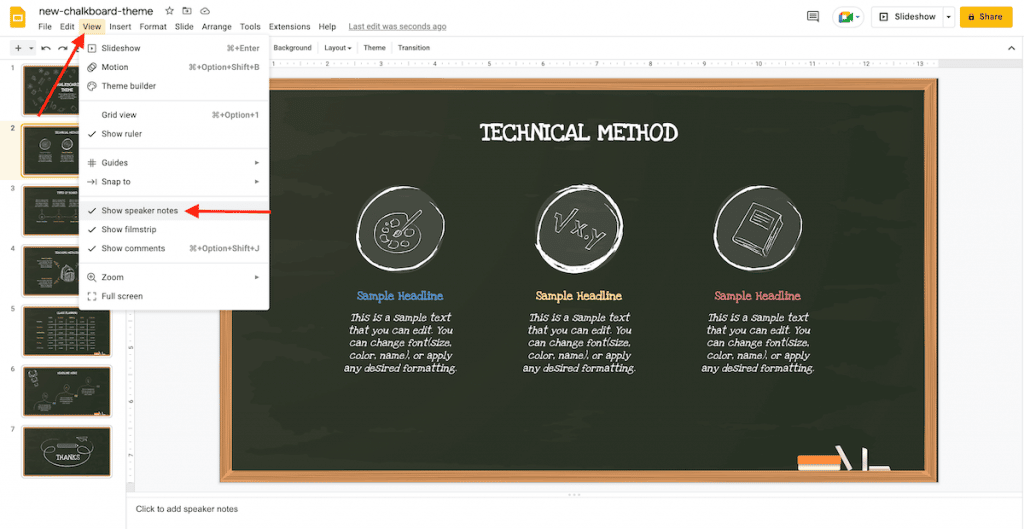
Step 3: In case you don’t find the textual box, follow this command to insert – View > Show Speaker notes.
Using the Presenter View
You need two screens to display the notes during the presentation; one for the slides and another for the notes.
Step 1: Open your Google Slides presentation.
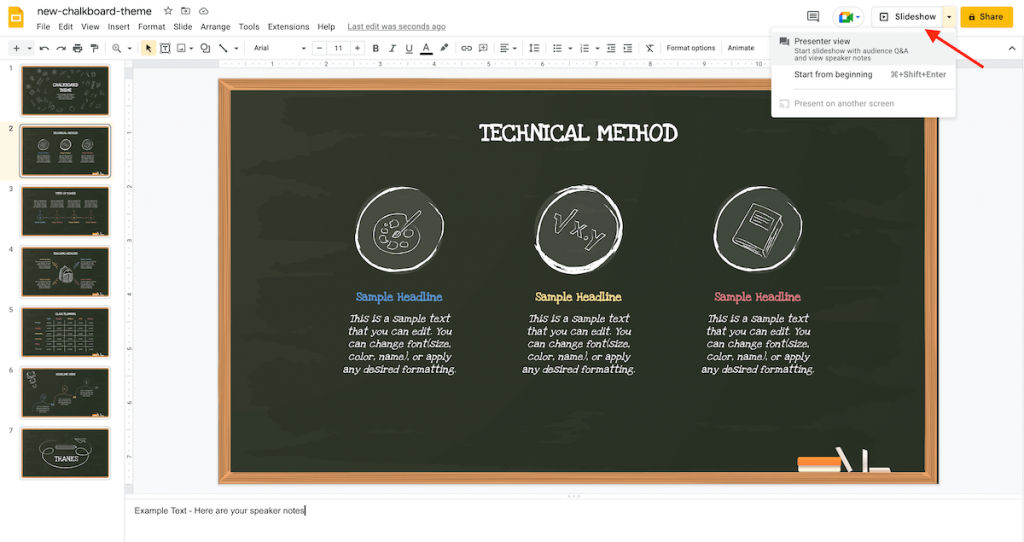
Step 2: Click the drop-down ‘Slideshow’ button on the top-right.
Step 3: By clicking the Presenter view, your presentation will be showcased on the full screen, and a new window will appear with various options and information.
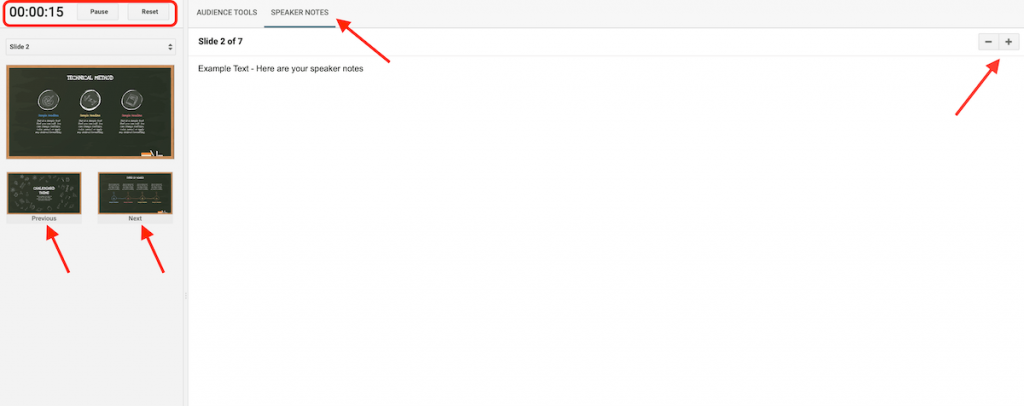
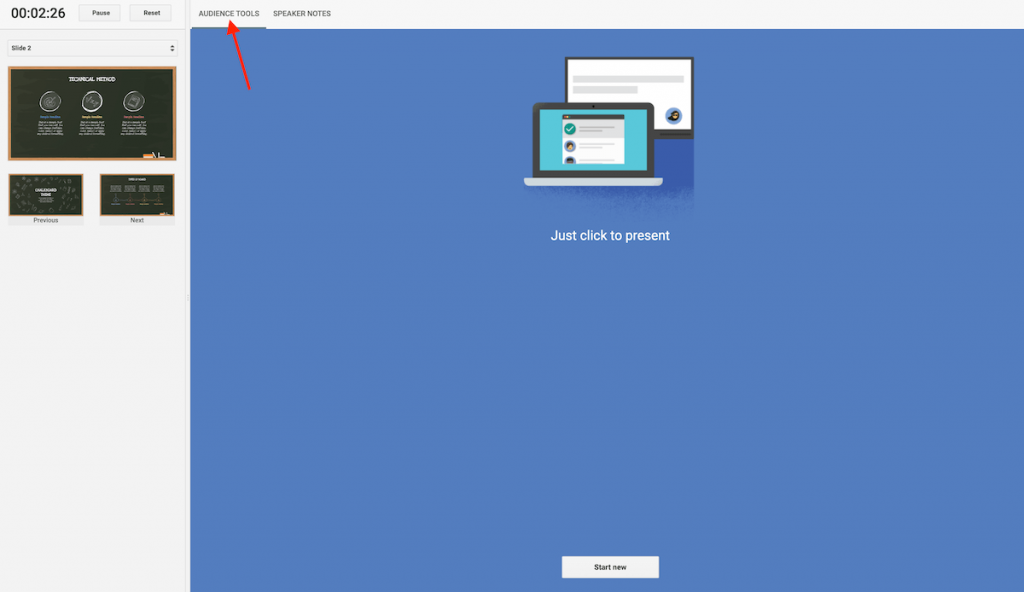
Timer: You can see the duration of your presentation. Furthermore, you can pause or reset the timer as needed by clicking the relevant buttons.
Previous and Next: Using the relevant thumbnails, you can return to the previous slide and move to the next one.
Zoom: Using the ‘+’ and ‘-’ buttons, you can increase and decrease the size of the content of your speaker notes.
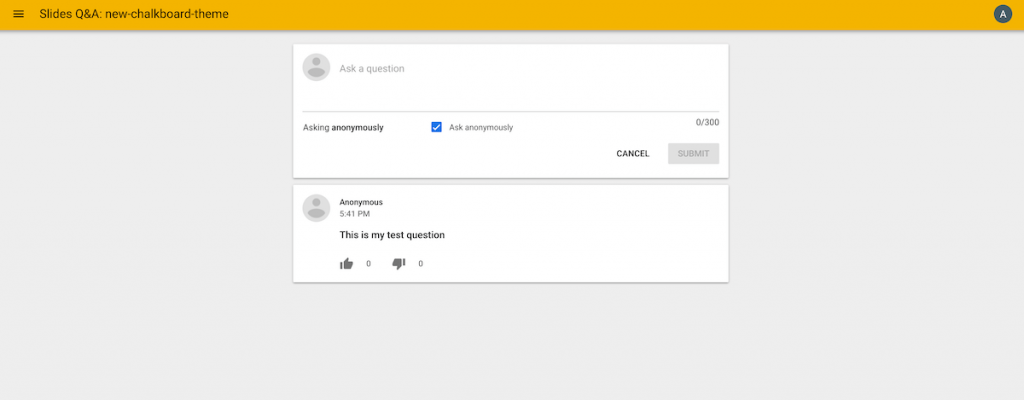
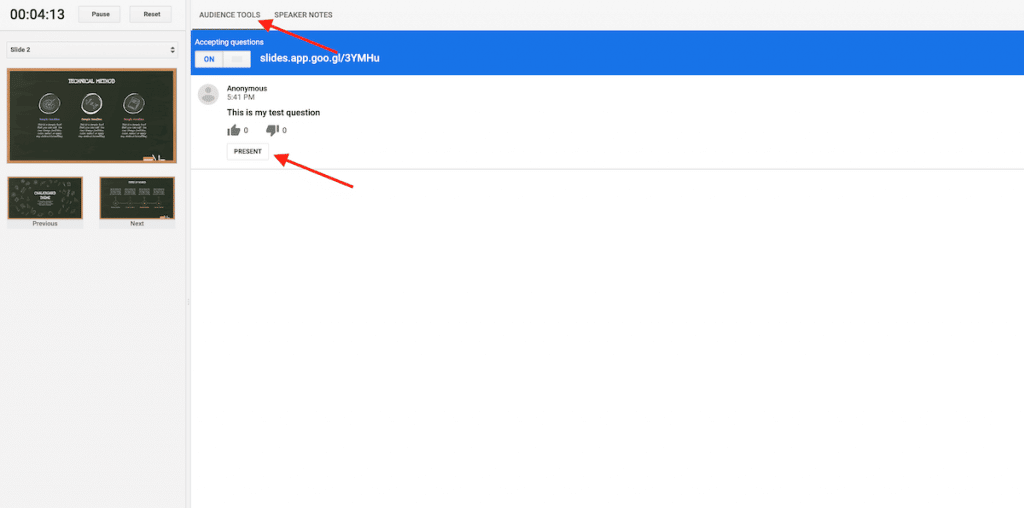
Audience Tools: It contains a button to allow questions from your audience. You can also disable this option to stop getting further questions.
Click ‘Present’ to display the questions on the main screen, and click ‘Hide’ to hide them.
With this Google Slides tutorial, you have learned the easiest way of adding speaker notes in Google Slides. Stay in touch for more such guides!
