
If you need help reorganizing elements on your Google Slides presentation, this tutorial will walk you through the process of grouping and ungrouping objects on a presentation slide, so it becomes easier for you to move things around. Everything from the color consistency in charts to the size and location of images can be easily improved by grouping all the individual elements together.
Grouping becomes important when you want to move and paste multiple elements on your slides as one object. You can also easily ungroup the grouped elements if you change your mind or simply need to edit one element separately from the others. So, let’s begin!
Grouping Elements
Step 1 – Go to your presentation in Google Slides.
Step 2 – Now, select the elements you wish to group together. For selecting more than one element, you can either click and drag them or hold the Shift key and click the elements individually.
Note: The elements you want to group must be on the same slide.
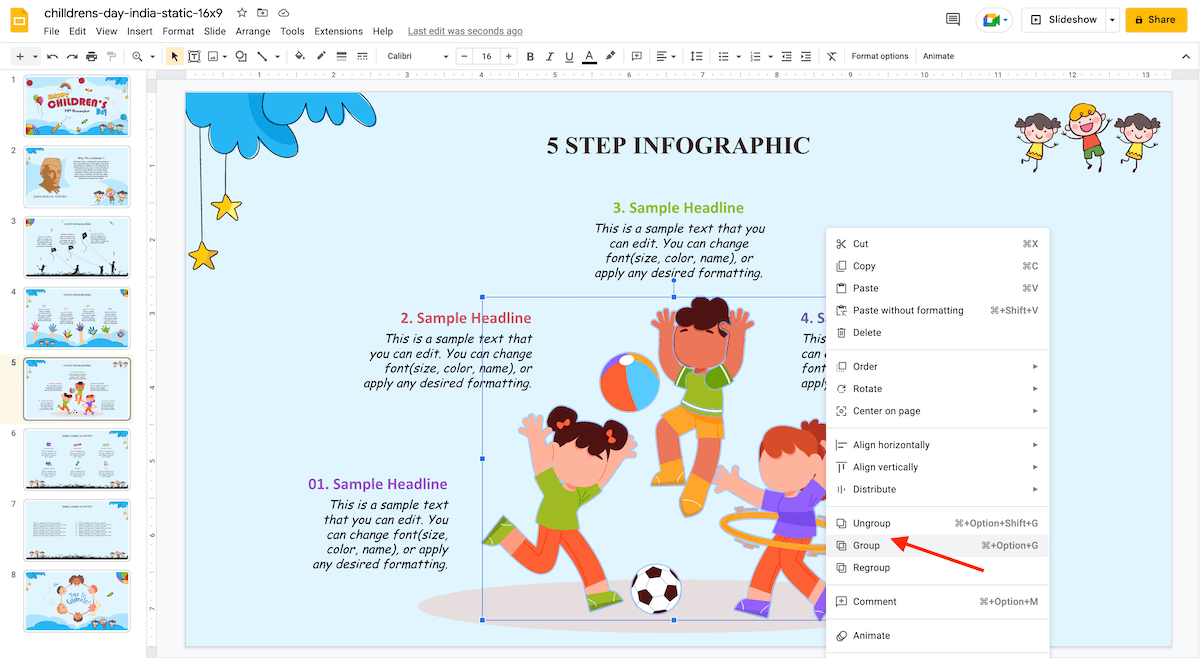
Step 3 – After selecting the elements, you wish to group, click Arrange → Group. Alternatively, you can do any of the following:
- Right-click → Group.
- Press Ctrl + Alt + G (Windows) or Cmd + Alt + G (Mac).
- Right-click the selected elements → Group.
Ungrouping Elements
Step 1 – Go to your presentation in Google Slides.
Step 2 – Now, select the group that you wish to ungroup.
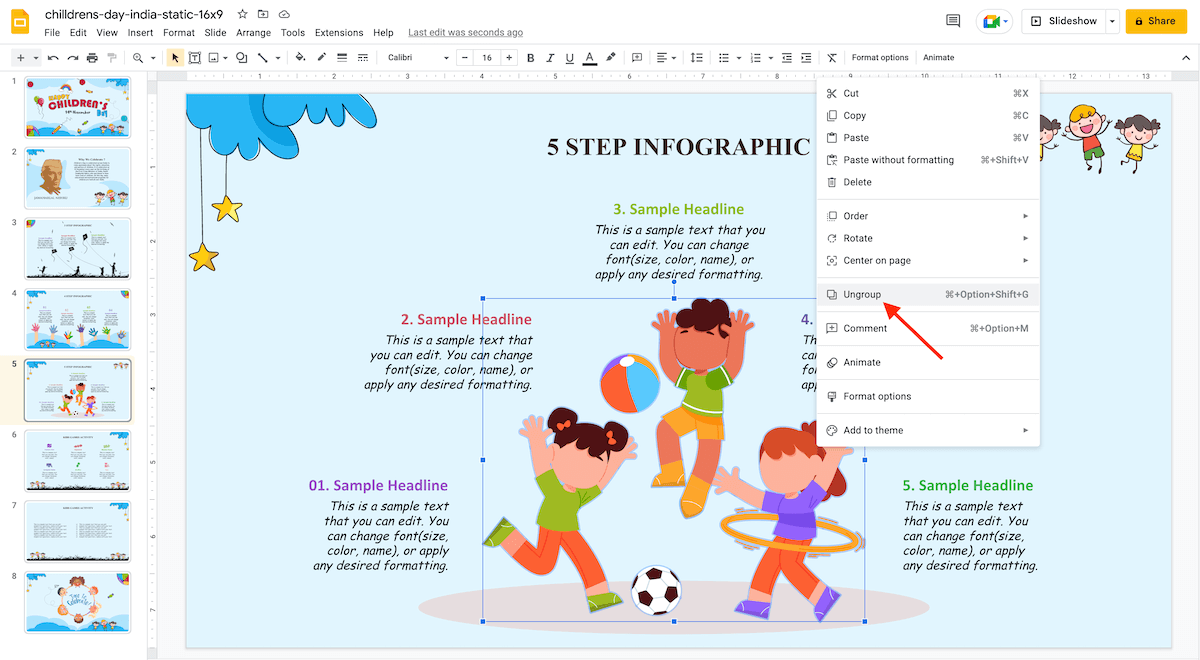
Step 3 – After selecting the group, click Arrange → Ungroup. Alternatively, you can do any of the following:
- Right-click → Ungroup.
- Press Ctrl + Alt + Shift + G (Windows) or Cmd + Alt + Shift + G (Mac).
- Right-click the grouped elements → Ungroup.
So, this was a brief tutorial on how to group or ungroup elements in your Google Slides presentation. Stay connected for many more useful Google Slides tutorials, and let us know your views in the comments.

