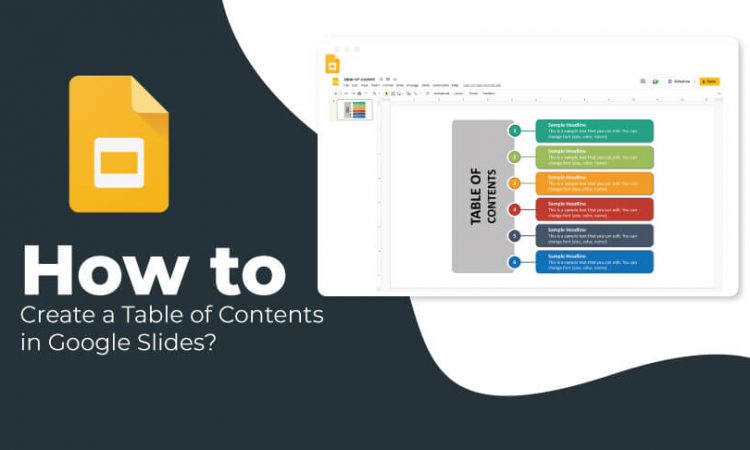
A table of contents is the easiest way to organize information and provide a quick glimpse of the topics covered in your presentation. It helps the audience find the specific topic, making navigation easy.
This tutorial will help you learn to create a table of contents from scratch in Google Slides.
Let’s go!
Set Up the Table of Contents Slide
Step 1: Open the Google Slides presentation.
Step 2: Click on the Menu and choose either Insert or Slide to select a New Slide
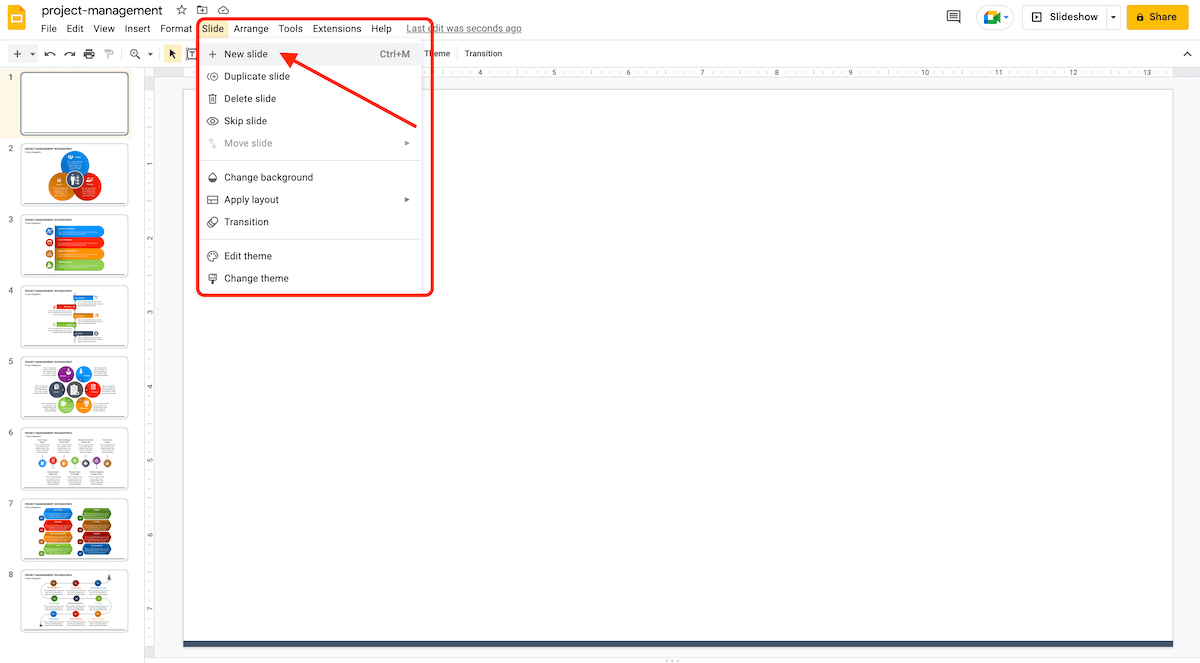
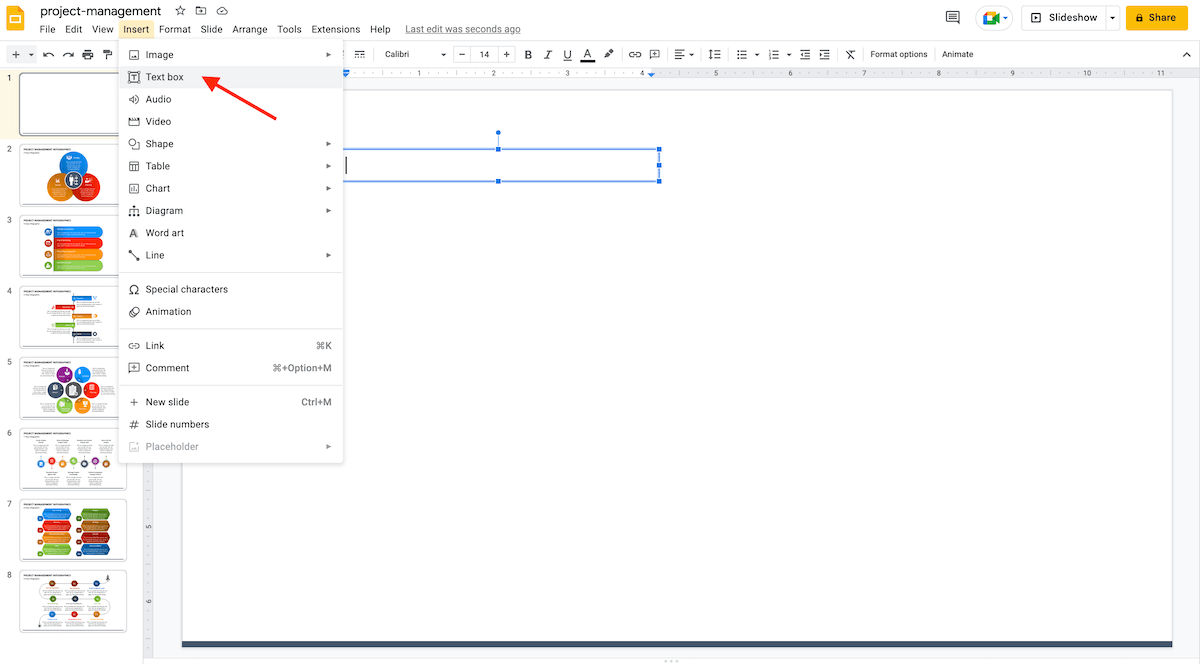
Step 3: If you have chosen a blank slide, select the Text Box in the Toolbar and insert it into the desired slide.
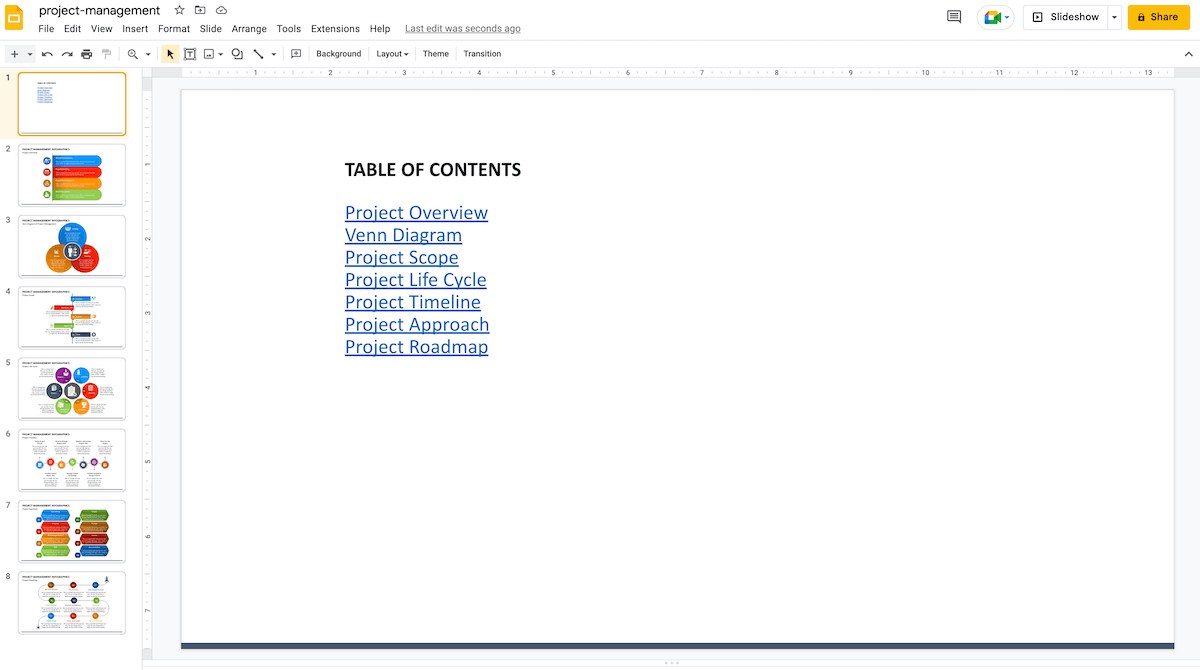
Make a Table of Contents in Google Slides
You can use the titles of the slides or put your desired text to insert a link to the particular slide. Let’s look at both options –
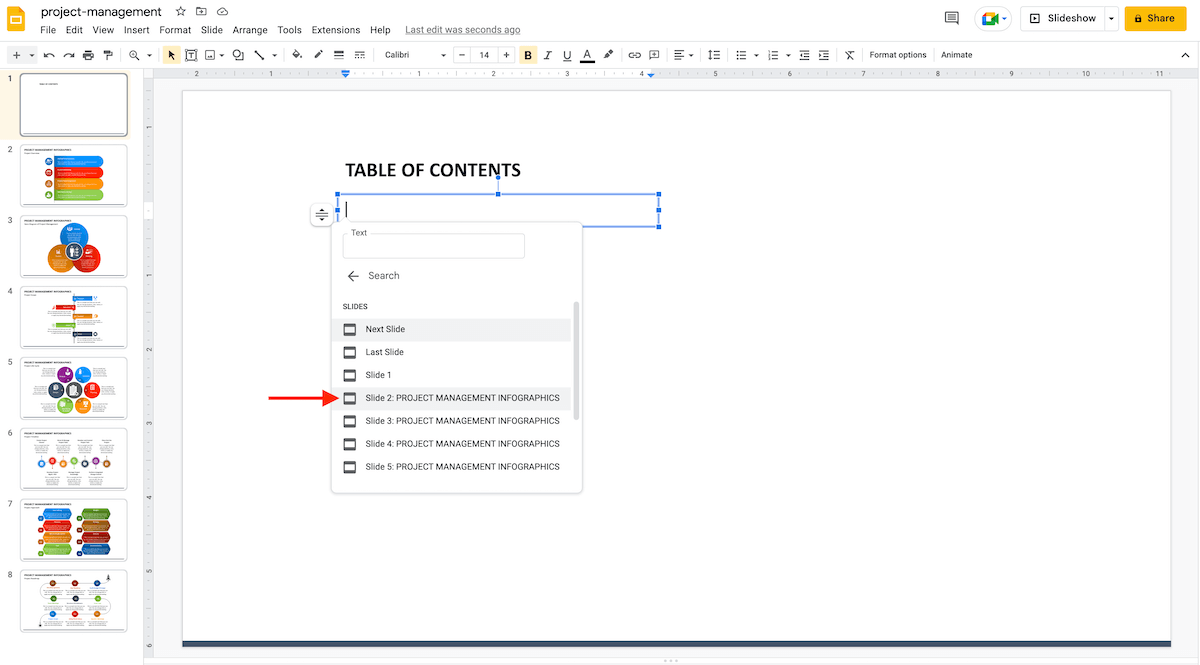
Option 1 – Insert the Linked Slide Titles
Step 1: Put the mouse cursor inside the text box and select Insert > Link from the Menu or the Insert Link button in the Toolbar.
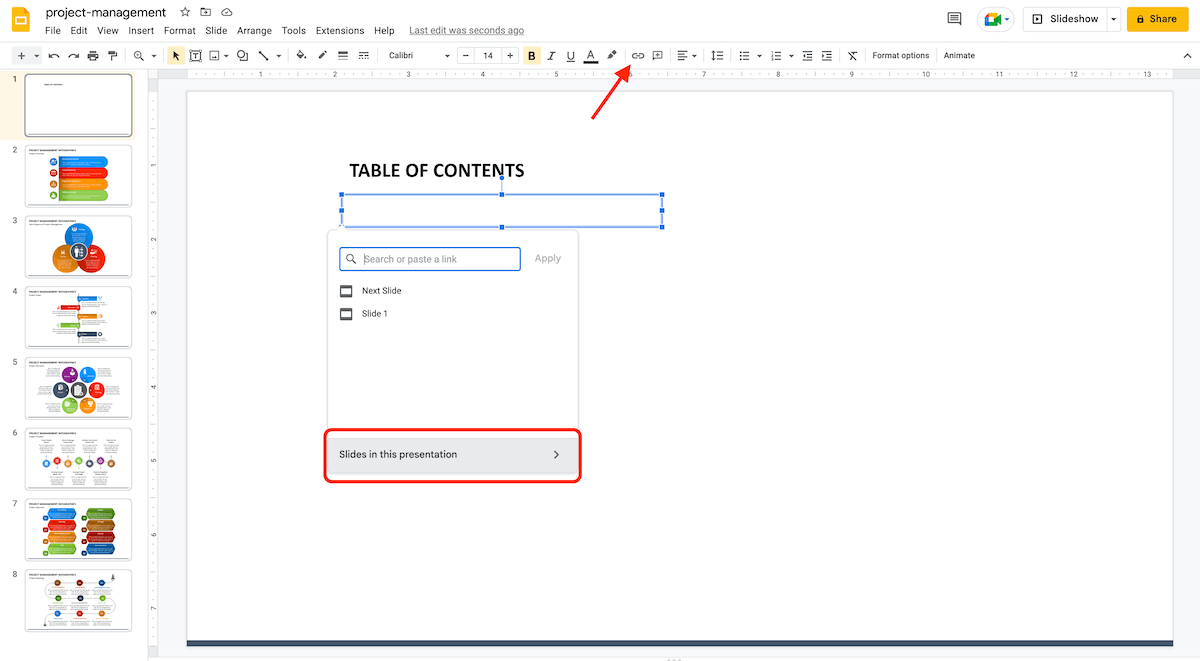
Step 2: After the link box appears, click on ‘Slides in this Presentation’ at the bottom and select the first item in your table of contents.
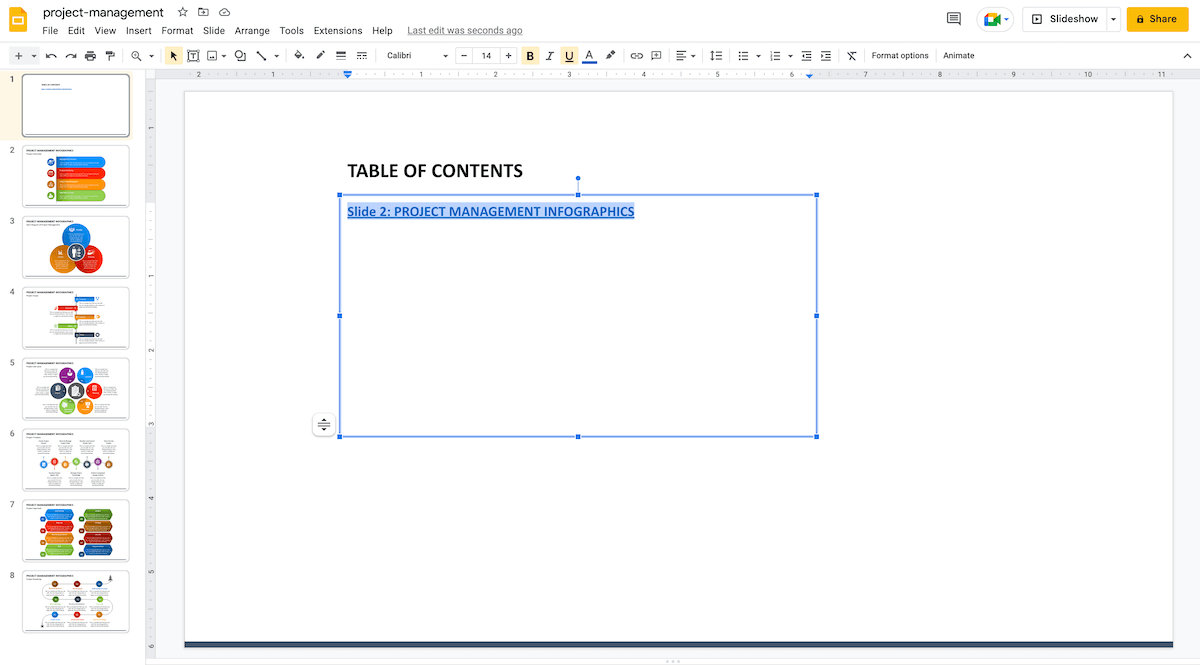
Step 3: With the above step, the slide numbers and title will pop into the text box with the links. If required, you can adjust the text, remove the slide numbers, or edit the title.
Step 4: Follow the same procedure to add the links to the remaining slide titles in your Table of Contents.
Option 2 – Insert Text and Link it to the Slides
For the slides that don’t have titles, add a link to the text of the specific slide.
Step 1: Put the text you want to use, and select it by dragging your cursor through it. You can choose a complete sentence, word, or phrase from the slide.
Click Insert > Link from the Menu or Insert Link button in the Toolbar
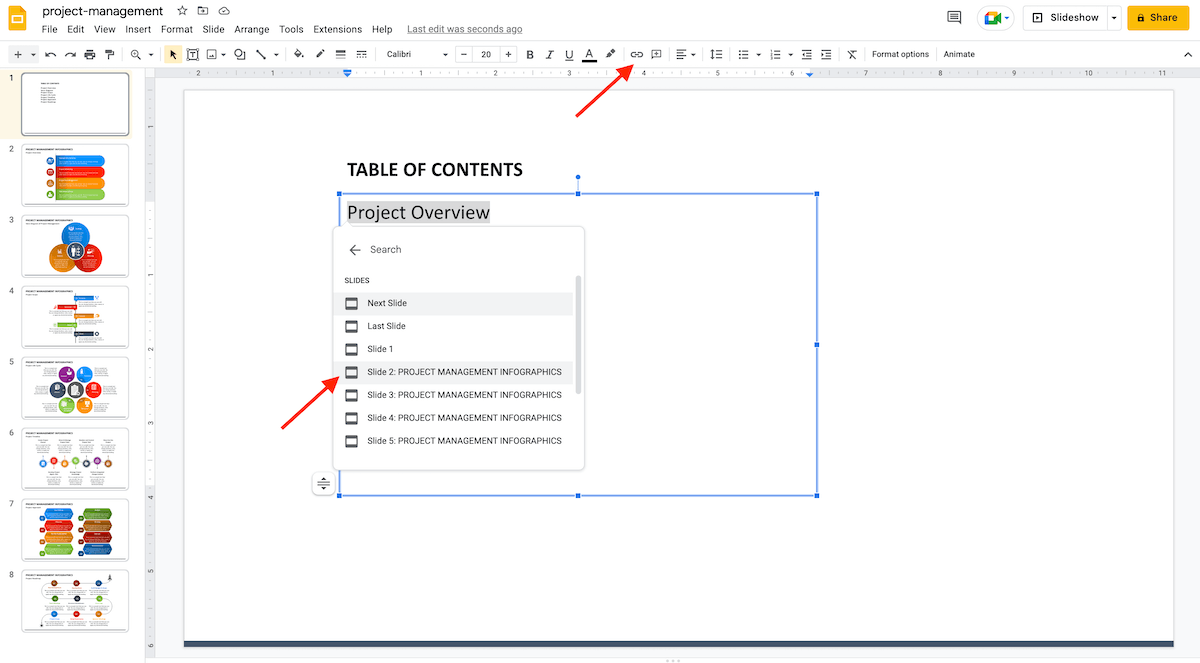
Step 2: After the link box appears, click ‘Slides in the Presentation’ at the bottom or find the specific slide using the Search Box.
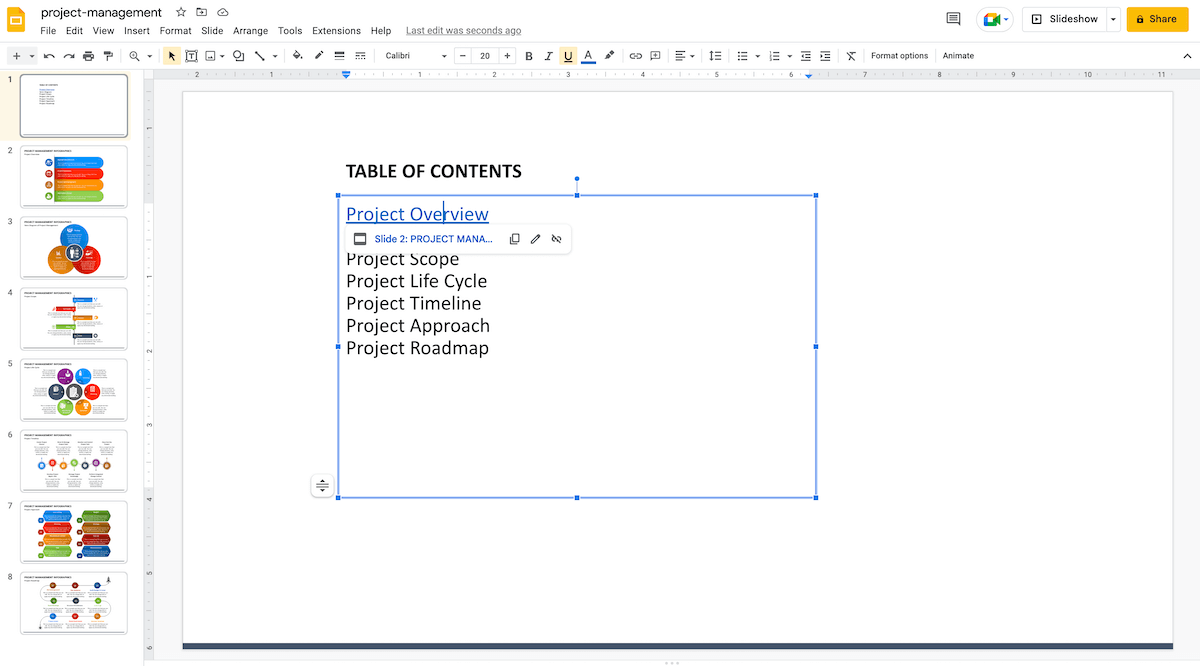
Step 3: Select the desired slide, and the link will be applied to the text. Hover your cursor over the linked text to check whether a popup of the specific slide opens or not.
Check Your Table of Contents
After completing the table of contents, start the slideshow using the Slideshow button at the top of the Toolbar. Hover your cursor over the title to check whether a hand symbol instead of a mouse arrow is coming or not. By clicking on the respective titles, you will go to the slide.
That’s it! With these easy steps, you can insert a table into your Google Slides presentation and help your viewers quickly access the slides.
Keep following us for more such Google Slides tips!


