Quizzes are one of the best ways to create an interactive session with the audience and keep them hooked to your presentation for a long time. They also reflect the audience’s attention towards you and their knowledge of the subject matter.
Well, creating quizzes is no longer rocket science. You will be able to create wonderful quizzes in your Google Slides presentation by the end of this tutorial. Keep reading!
How to Create the Main Page of Your Quiz?
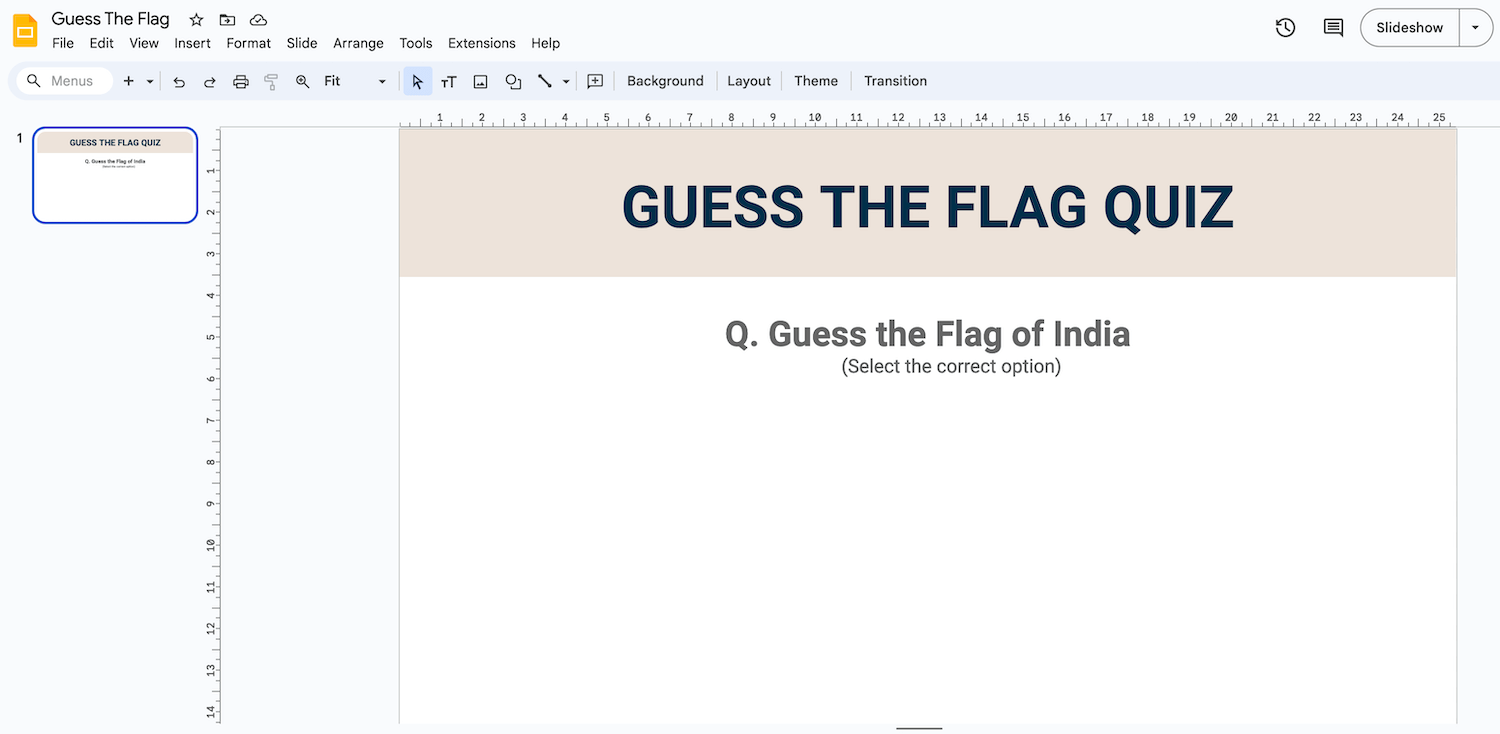
Step 1 – Open the presentation on Google Slides and select the slide where you want to create the quiz.
Step 2 – Start typing the title and subtitle of the quiz using text boxes. You can edit the font, color, style, and size of the text from the editing tools in the toolbar.
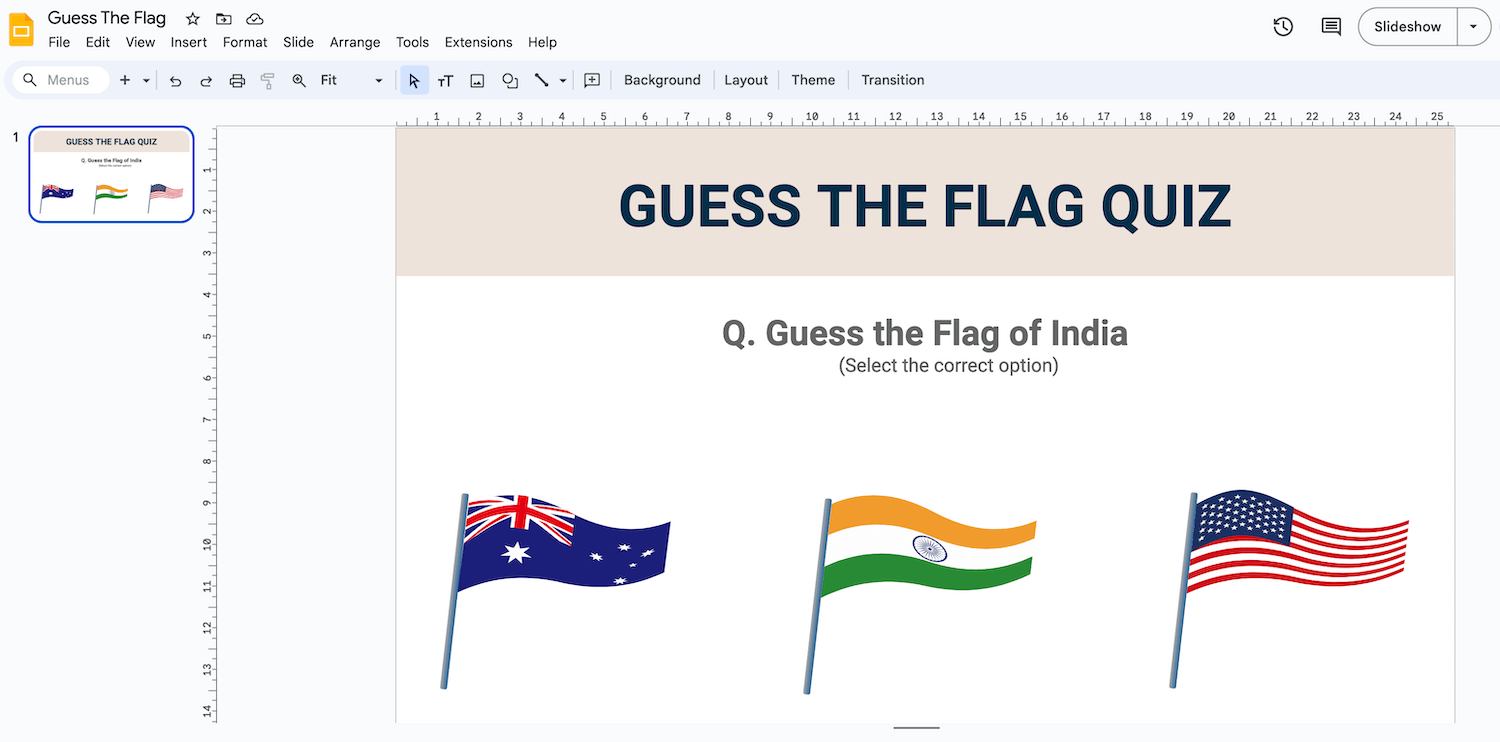
Step 3 – You can add images, drawings, or GIFs to make your quiz more captivating.
Step 4 – Add button-like shapes for the quiz ‘correct’ and ‘wrong’ options. Go to Insert > Shape > Shapes > Oval.
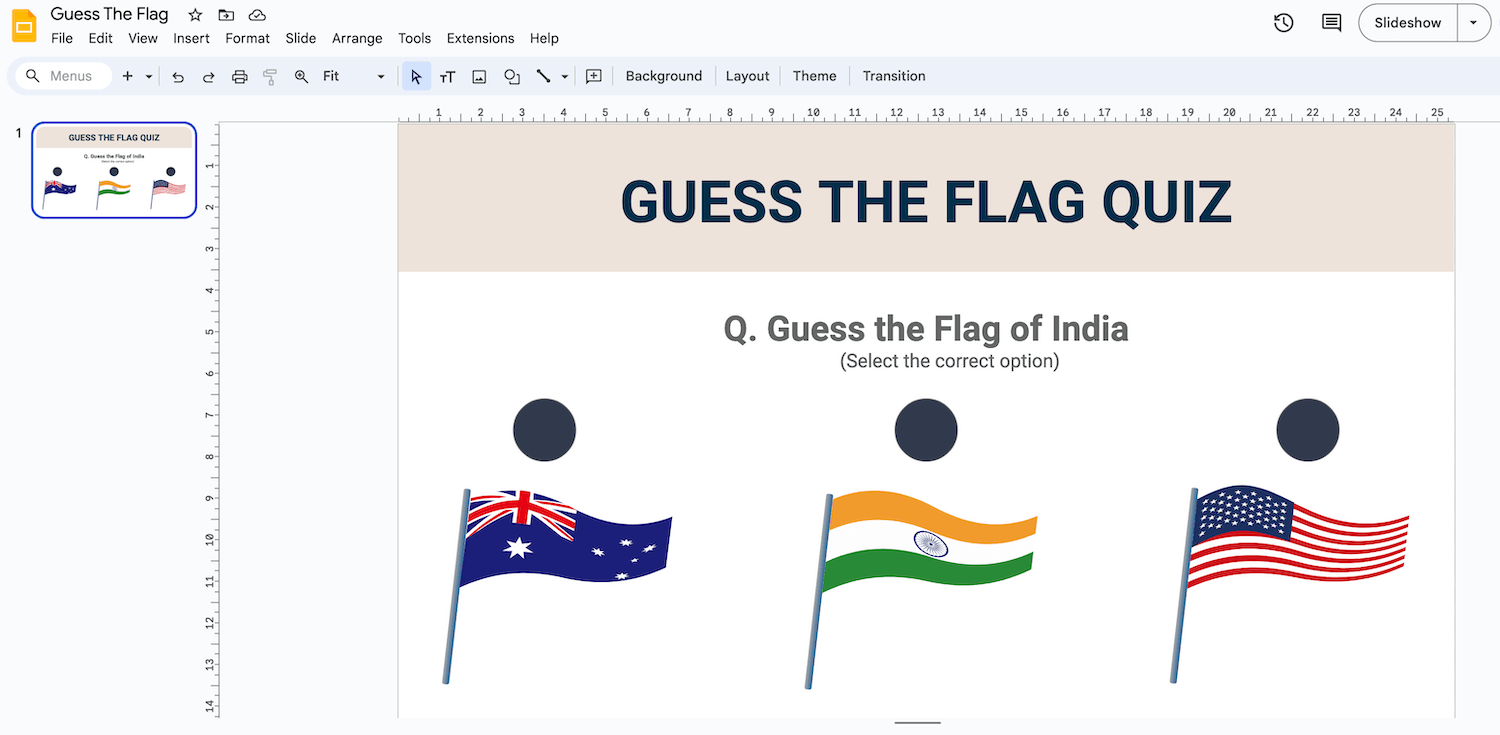
This process will insert oval shapes onto your slide.
Step 5– Add option numbers such as ‘A, B, C’ to the ovals using text boxes. You can resize the shape, change its color and fill and create a border using the editing tools on the toolbar.
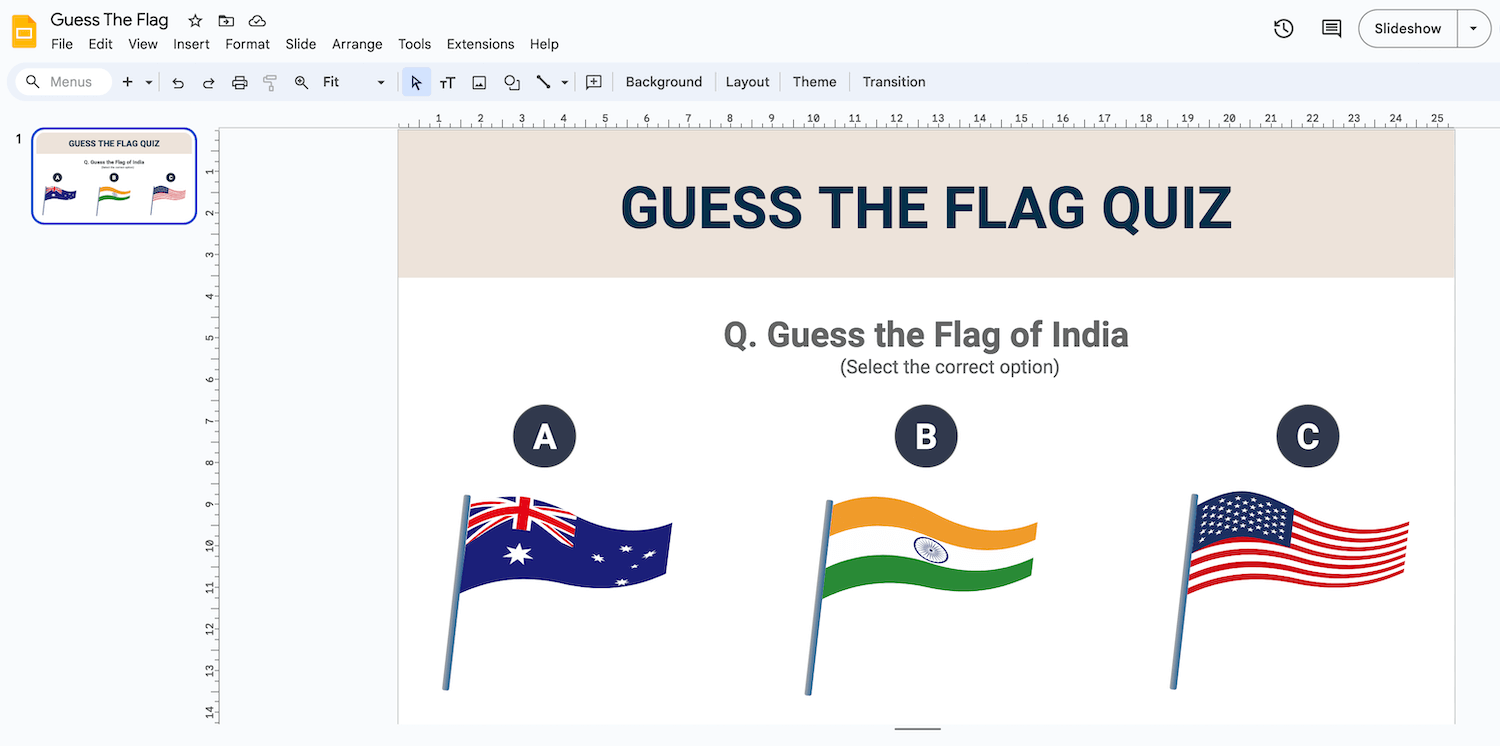
Step 6 – Repeat the same steps for as many ovals as you need, and adjust them accordingly onto the slide.
How to Create the ‘Right Answer’ Slide?
After your question slide is ready, you need to craft two slides – one that reflects the correct answer and the other that indicates the wrong answer. We will create the hyperlinks for both of these slides later.
Step 1– Add a new slide after the question slide, preferably with the same theme.
Step 2– Add a symbol and a tick mark sign that says “Well Done” or “That’s Correct” or any other positive affirmation that indicates a correct answer.
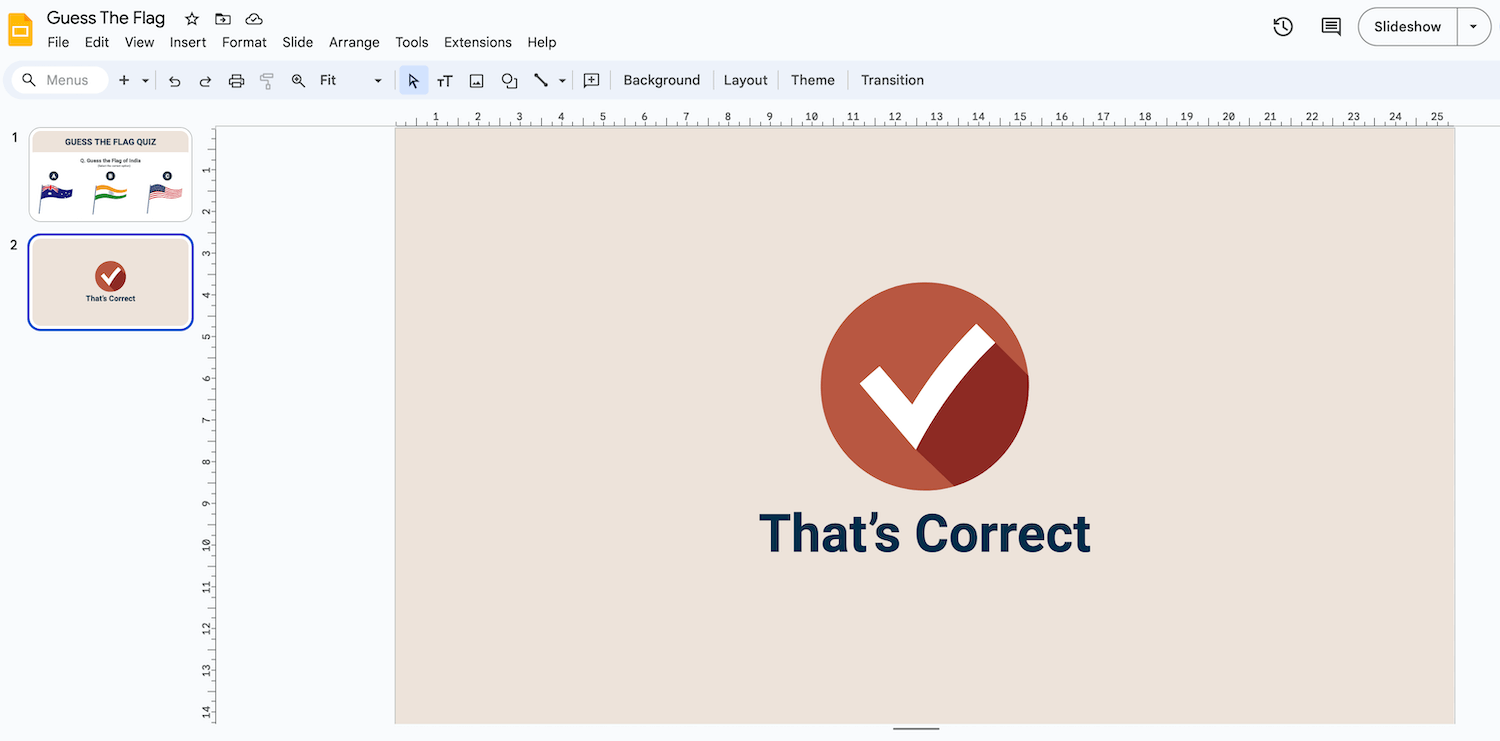
Step 3 – Edit the colors using the toolbar, and your ‘Right Answer’ slide is ready!
How to Create the ‘Wrong Answer’ Slide?
Step 1 – Add a new slide. Insert shapes and a symbol with an X that reflects a wrong answer.
Step 2 – You can write “Oops,” ‘Try Again,” “That’s Wrong” or any other phrases to make it more interactive.
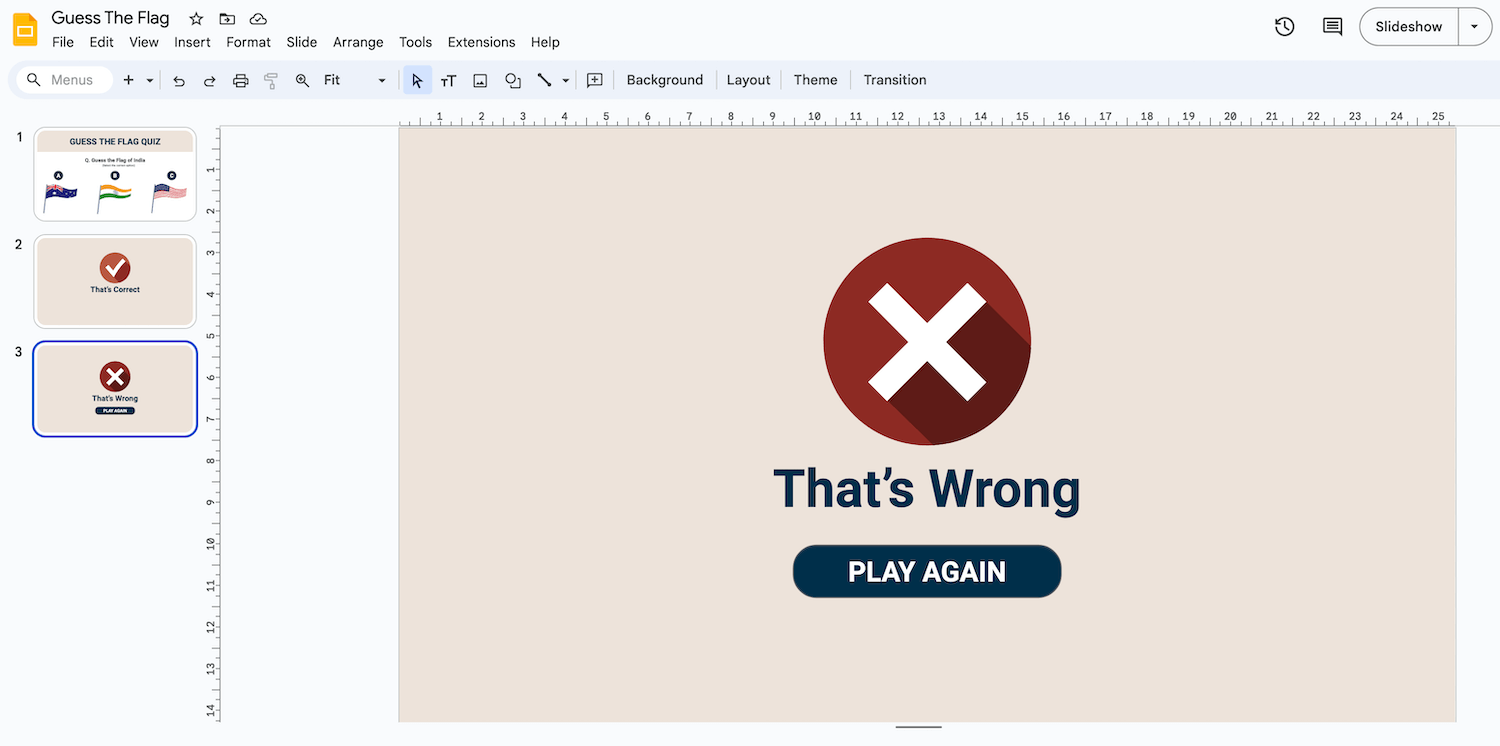
Step 3 – You can add a button on the bottom that says “Play Again.” This will redirect the students to the question page again.
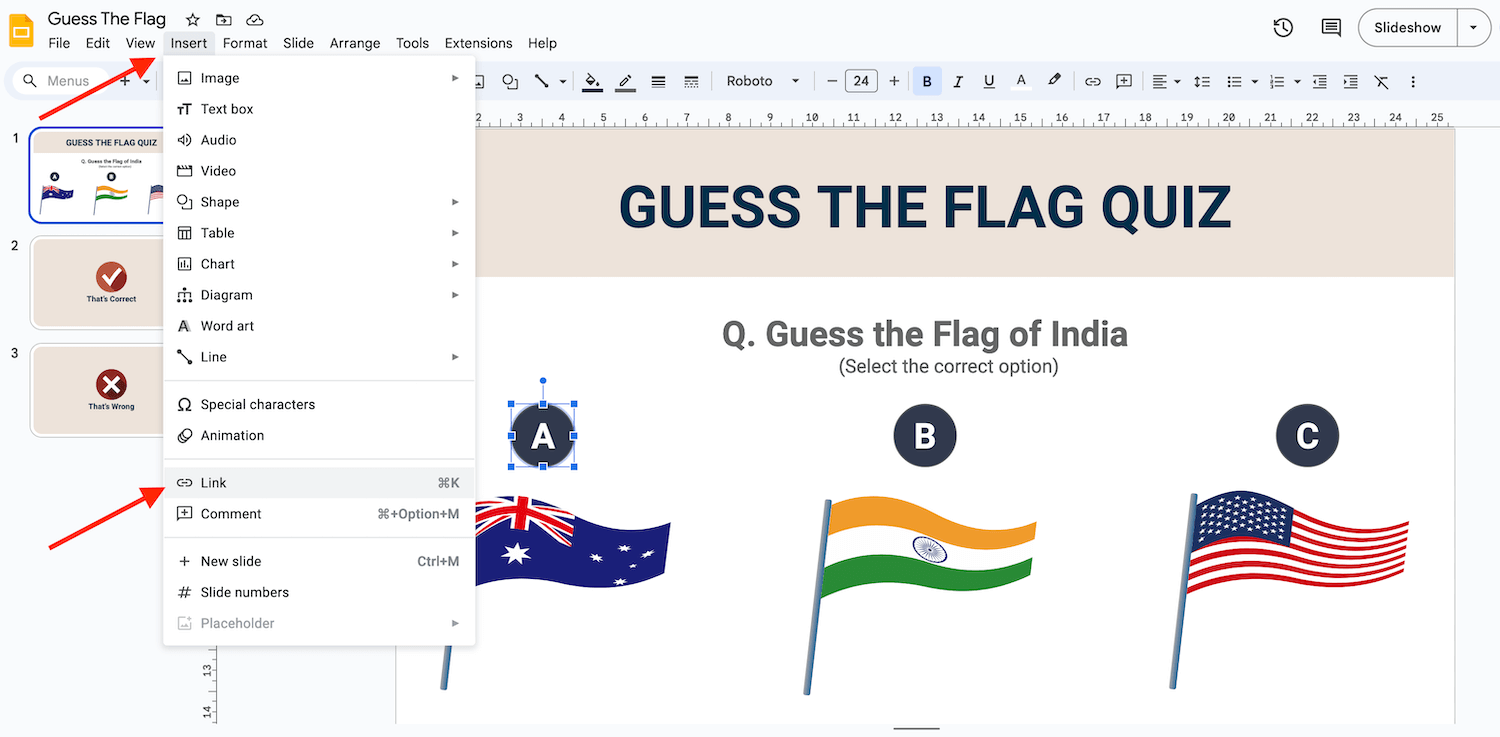
How to Create a Hyperlink?
Step 1- Go to the question slide again. Here, we will add links to the buttons.
Step 2 – Start by choosing the first button, which in our case, is the wrong answer. Select the text on the button by clicking on it twice.
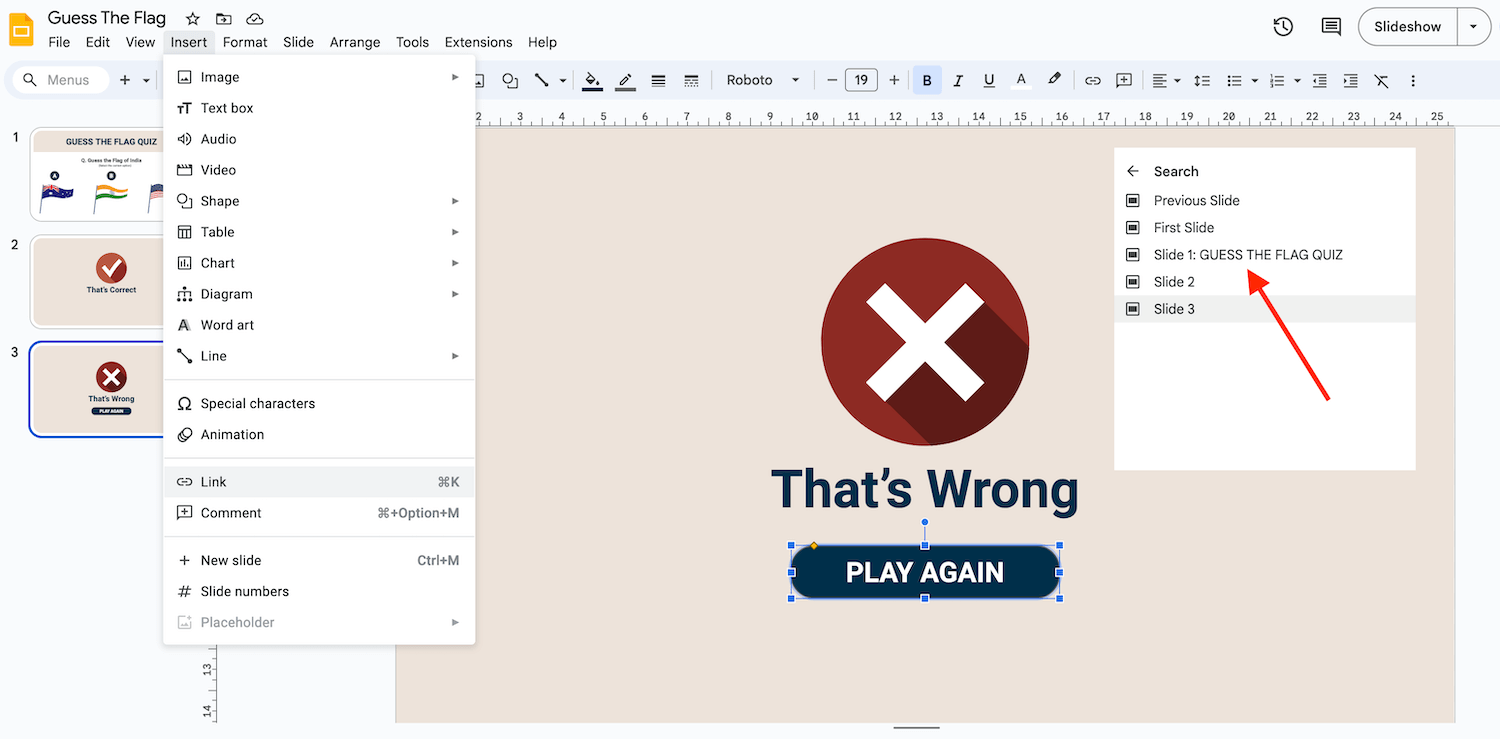
Step 3 – Go to the toolbar, select ‘Insert’ > Link and then choose the option ‘Slides in This Presentation.
Step 4 – Make sure to link it to the ‘Wrong Answer’ slide and click ‘Apply.’

Similarly, add the corresponding answers to their respective slides.
Remember that we have given a ‘Play Again’ option if a student gets a question wrong. Hence, go to the ‘Wrong Answer’ slide; add a link for the question page, the same as to ‘Play Again.’
Your quiz is ready!
Looking for more insightful tutorials? Stay tuned!


