9 Google Slides Tips and Tricks for Teachers to Enhance the Learning
Teaching can be tricky sometimes. Educating students with varied interests and different attention spans can seem burdensome. Hence, one of the best ways to impart knowledge in such a diverse environment is by using presentations. They allow you to visually engage the students, help them understand through interactive graphics, and ultimately, make the class a better learning space.
One of the best applications to craft stunning presentations for classrooms is Google Slides. This tool is not only easy to use, but also offers a variety of tools that can be used to create highly effective slides for students.
Here are a few tips and tricks for teachers to maximize the use of Google Slides in their classroom!
1. Save Your Time by Using Shortcuts
Using shortcuts can help deliver your classroom presentations flawlessly. It can also cut down much of your time and energy.
You can use shortcuts for almost every task – from opening a file to adding new slides, running the presentation, pausing it, and whatnot. Most of the actions can be performed by pressing a couple of keys and be executed in no time!
2. Import More Google Fonts
The fonts displayed on your Google Slides are only the ones that are available. Instead, you can download fonts of your choice and creatively use them in your slides.
You can do so by clicking on ‘Fonts’ and selecting ‘More Fonts’ from the dropdown menu. It will help craft more stunning presentations with visually appealing slides.
3. Change the Presentation’s Orientation
Google Slides offers a highly effective interface for creating stunning presentations and allows you to adjust the presentation’s orientation as per your requirements.
By default, it is set to the dimension of 16:9. However, you can change it by hopping on to the ‘Page Setup’ menu under ‘File.’ You can choose an existing dimension or customize it according to you.
While setting your slide dimensions, make sure to consider the screen you will be presenting on. If it is a wider screen, you must opt for a 16:9 size, and if it is a smaller screen, you can customize the size.
4. Use Countdowns for Tasks and Activities
If you want to walk the extra mile and add an out-of-the-box element to your presentation, you can add a countdown for any tasks or activities mentioned in the slides.
For example, if you are delegating a mathematics sum to your students, setting a countdown to the same can increase their excitement and help analyze their progress.
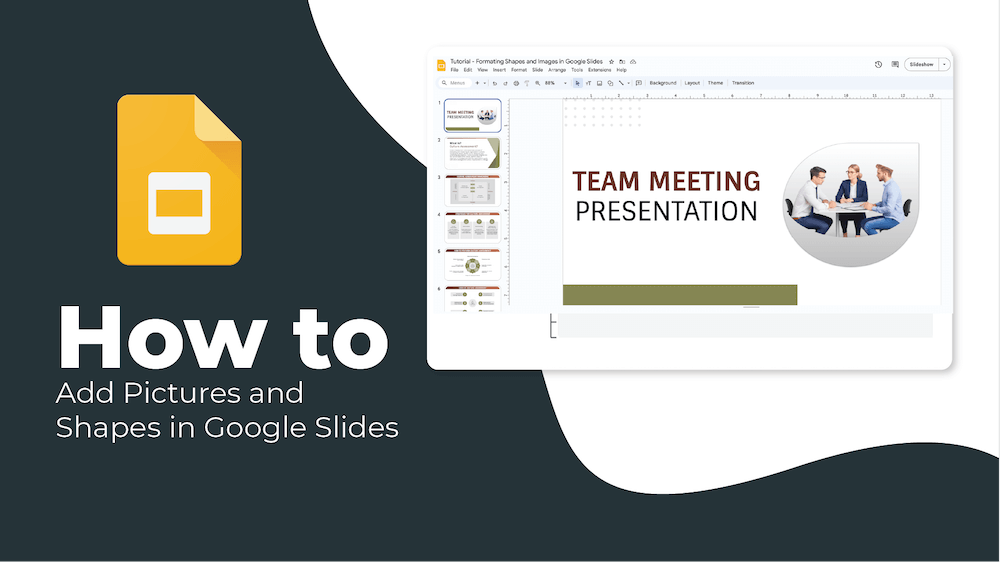
5. Get Creative: Add Images, Sounds, and Videos
One of the best ways to captivate your students is by using intriguing visuals. These could be anything from photos, videos, sounds, or even GIFs. Make sure to use high-quality graphics to avoid pixels on bigger screens.
For instance, if you are presenting to your students in the winter months, you can add a snow GIF to your slides to make them lively and fun!
Read our tutorial on how to insert images into Google Slides presentations and get creative in the blink of an eye!
6. Create Mind Maps for Complex Topics
One of the best ways to explain a complicated topic is by breaking it down into simpler steps. This can be done easily by creating a mind map in your Google Slide presentation.
The main purpose of crafting a mind map is to organize information into smaller segments and to break it down hierarchically. Using a mind map is not only an excellent way of teaching, but also helps immensely in understanding better and grasping the concepts quicker.
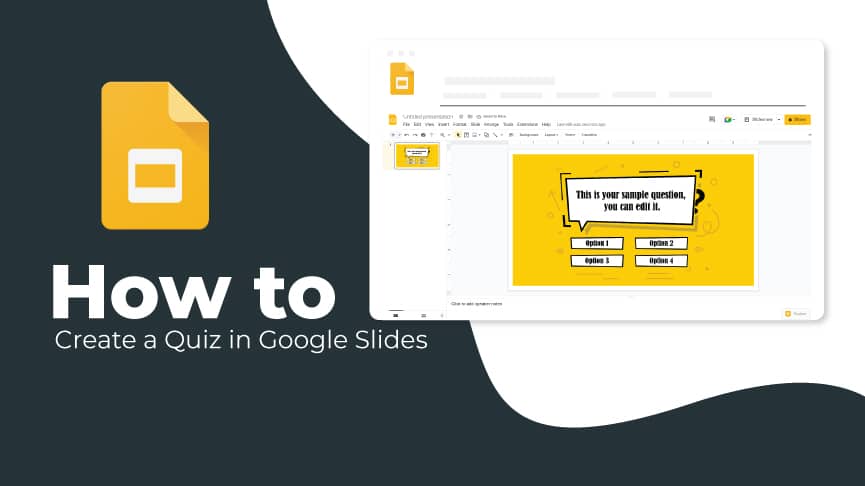
7. Make Quizzes for Assignments
Quizzes are one of the most interactive methods of learning. They help analyze a student’s knowledge of the subject.
You can create quizzes for graded assignments or fun quizzes to keep the students engaged and increase their participation in class.
You can add pictures, icons, texts, and much more to your quizzes and keep your students hooked on the slides.
8. Add Tables for Organizing Information
If you want to display ample information at once, consider adding a table to your Google Slides presentation. It will help categorize data and organize it properly.
For instance, if you want to draw a comparative study between different metals and their properties, you can use a table to give your students a bird’s eye view of the information instead of displaying it in multiple slides.
9. Use Pre-Designed Templates
If you are in a time crunch or do not want to get into the hassle of crafting your slides from scratch, you can use pre-designed templates for Google Slides. These templates allow you to create presentations effortlessly and customize each aspect according to your need.
From color to font, you can adjust everything accordingly and create your slides in a matter of no time!
Conclusion
Using creative techniques to educate children can help boost their learning. You can explore endlessly with Google Slides by experimenting with animation, transitions, audio, text, and much more.
This powerhouse software can assist you in delivering the best learning experience for your students and helps create a dynamic environment for them.
In this digital teaching process, there would be technologies that are new to you too. Thus, make sure to keep learning by using such tips and techniques in your upcoming classroom presentation, and help your students grow!

