
Tables are the best way to organize data and make your presentation look neat, tidy, and sorted. These tables, made of rows and columns, provide a bird’s eye view of any information and are an excellent means for showing data comparison.
Through this Google Slides tutorial, you will learn how to make tables on Google Slides from scratch in just two steps! We will also walk you through editing and styling tables.
How to Add a Table to Google Slides?
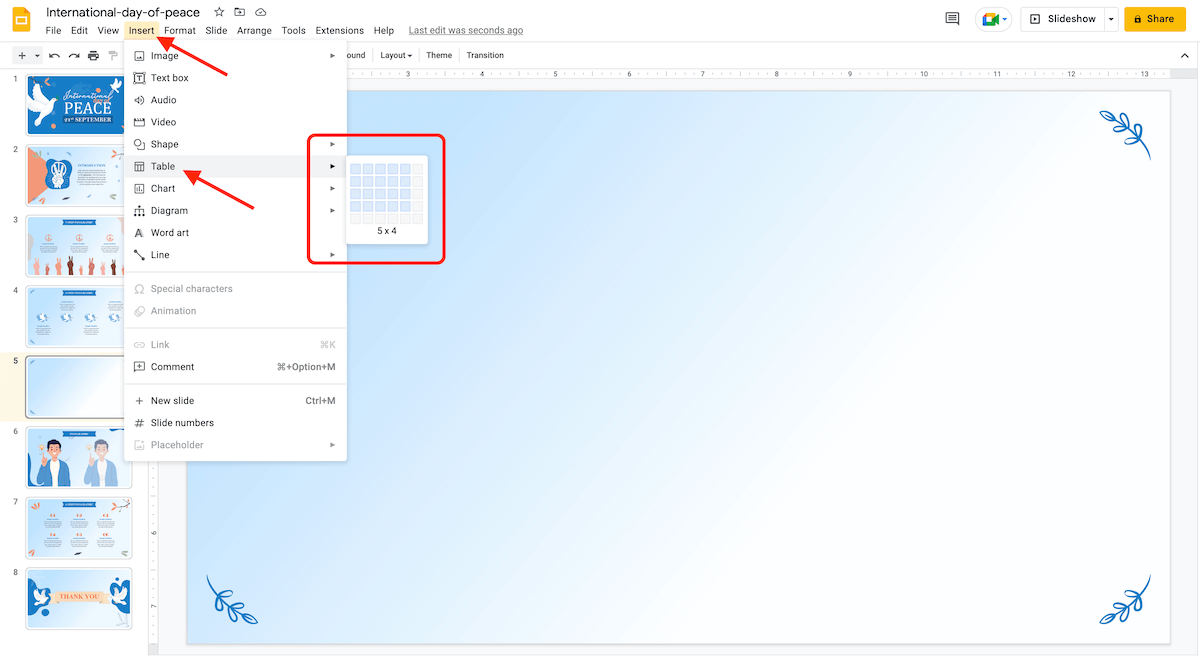
Step 1 – Open your presentation and select the slide where you want to insert the table. Now, go to the ‘Insert’ option on the toolbar and select ‘Table’ from the dropdown menu.
You can select the number of rows and columns as per your need.
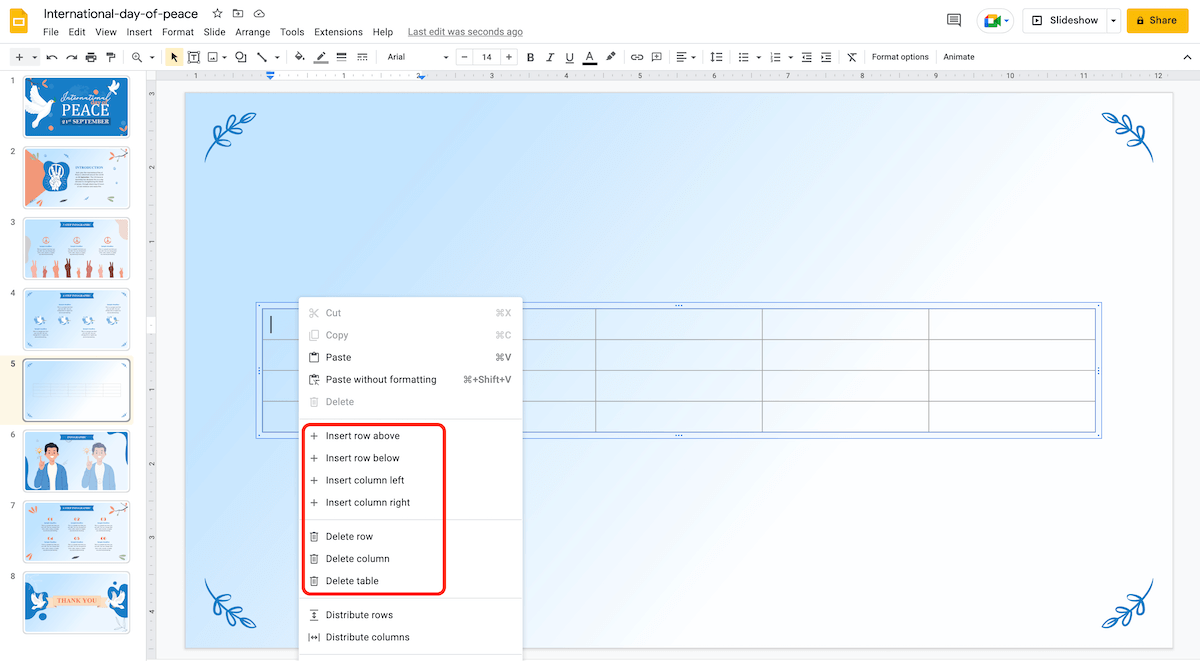
Step 2 – Once your table appears on the slide, you can add or delete rows and columns. Right-click on the table, and choose the desired option from the menu.
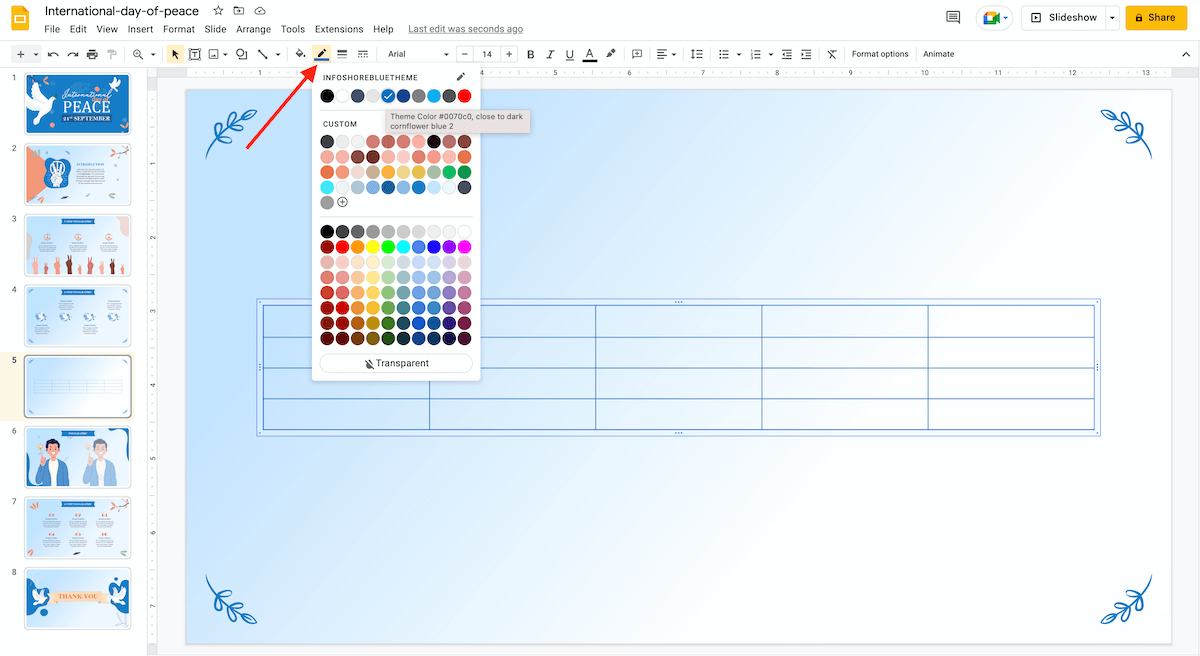
How to Edit the Style of the Table?
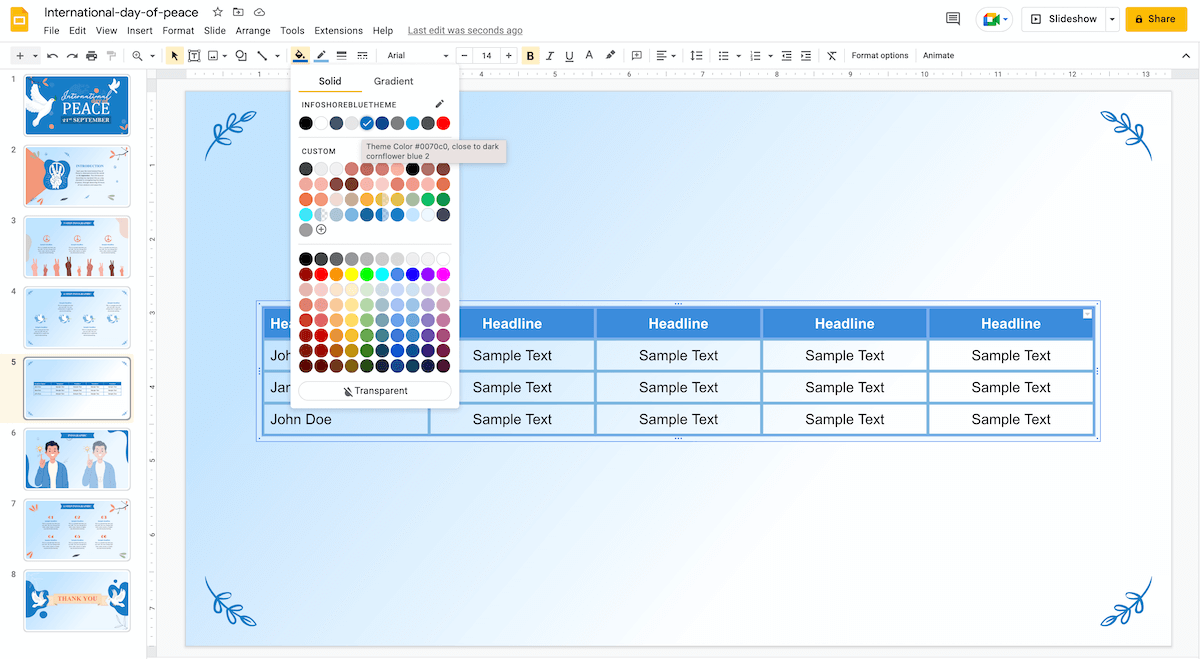
For changing the color of the table, click on the outline of the table and select ‘Border Color.’ You can choose the color that goes well with your slide’s theme.
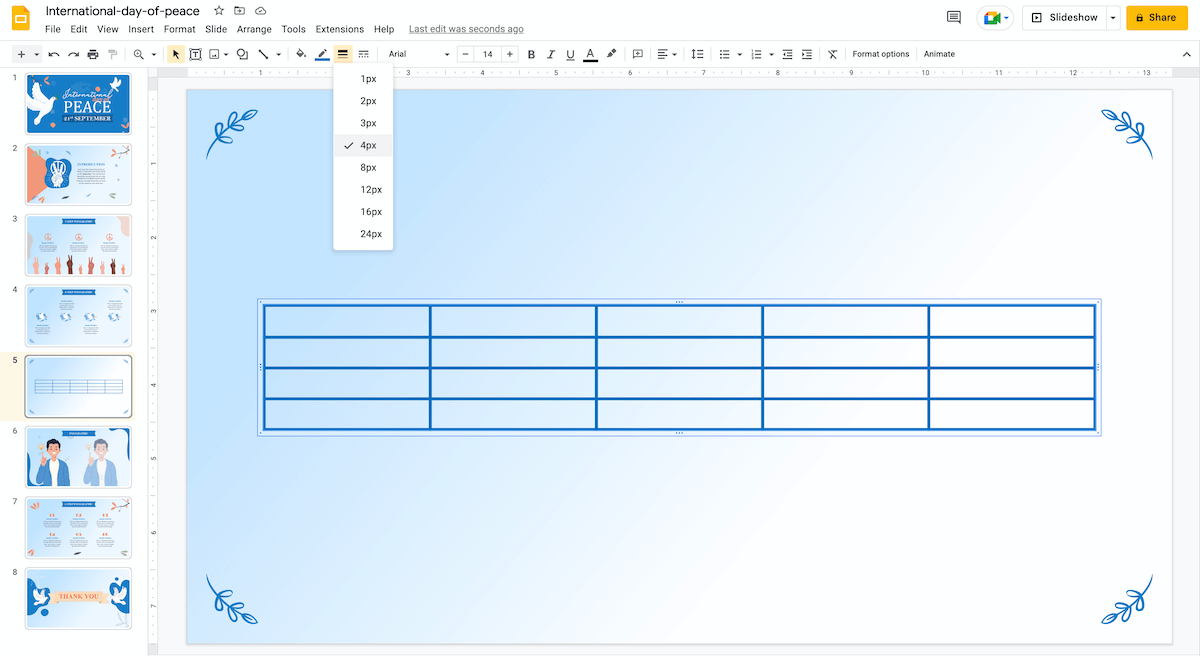
For changing the border consistency, select ‘Border Weight’ to create a thicker border or ‘Border Dash’ to create a dotted border.
How to Add Content to a Table?
Step 1 – To start writing, double-click on the cell.
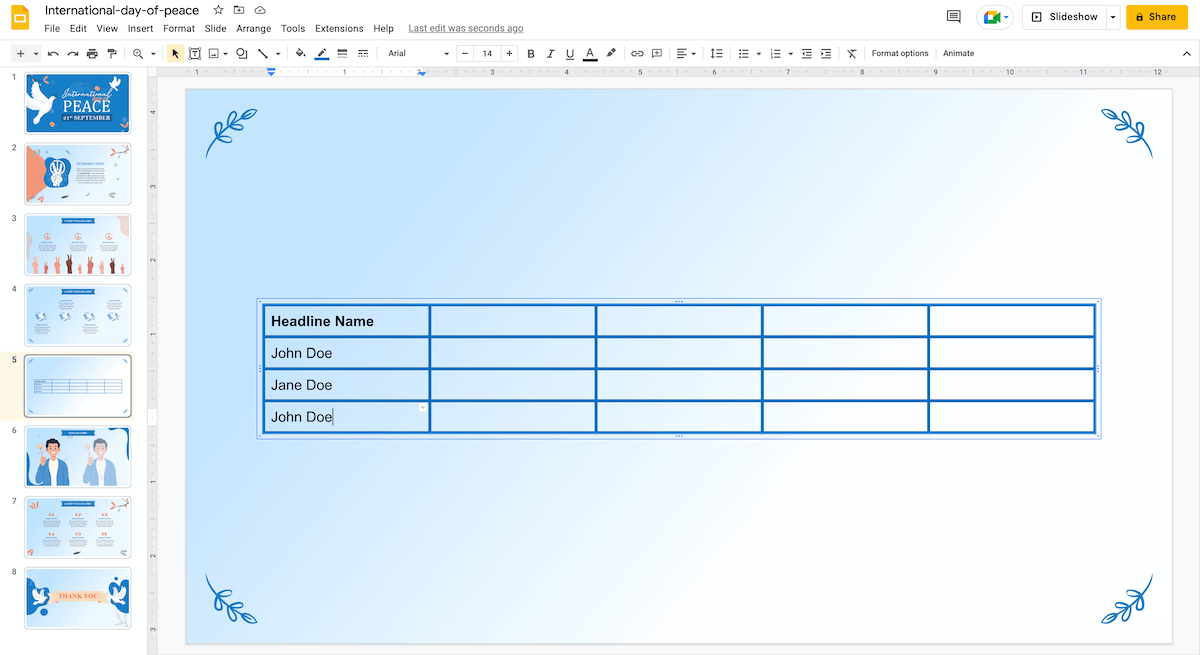
Step 2 – Start filling the table with precise information.
Step 3 – You can style your content by playing with colors and adjusting fonts. Start by selecting a portion of the text over the cells, and use options ‘Font,’ ‘Font Size,’ and ‘Text Color.’
Step 4 – Remember to align your text in the table for a neater and better slide. Select the text on the cells, click on ‘Align’ and choose the alignment preference.
And you are done with adding a table to your Google Slides!


