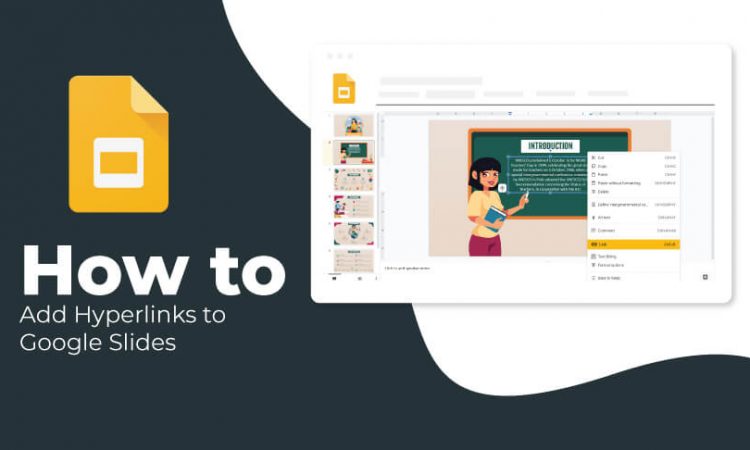
If your Google Slides presentation contains a few dozen slides and you wish to navigate from one slide to the other without pausing the slideshow, then you can hyperlink your slides. With a hyperlink, you can easily and quickly jump to a particular slide without having to click the forward button multiple times. This useful function will save a lot of time and frustration. So, let’s see how you can do it with a series of simple steps. Here you go!
Adding a Link to a Website
Step 1 – Head over to your Google Slides presentation and select the item or resource you want to link.
Step 2 – From the top menu, click Insert→ Link or press Ctrl + K (Cmd + K in Mac ).
Step 3 – Now, enter the website URL you wish to link to the selected resource. Then, press Apply.
Adding a Link to Another Slide in the Same Google Slides Presentation or a Document Stored in Your Google Drive
Step 1 – Head over to your Google Slides presentation and select the item or resource you want to link.
Step 2 – From the top menu, click Insert→ Link or press Ctrl + K (Cmd + K in Mac ).
Step 3 – In the drop-down menu, click the option “Slides in this presentation.” Then select the slide you want to link to the selected resource. You even have the option to go to the next, previous, first, and last slide as well.
Step 4 – To link the selected resource to a particular document stored in your Google Drive, enter the name in the Link field.
Step 5 – If the resource you use as a link is text, it could appear in a different format and with an underline. There is no need to worry; you can change it back, and the link won’t be removed.
Note: If you wish to use more than one object in the same slide as links, you need to do it individually because the Link option gets disabled if you select more than one element.
Also, if you don’t want a slip-up, test every link in your presentation at the end to make sure it leads to the correct slide or resource.


