A digital notebook is a great replacement for a paper notebook. It is handy for teachers and students, where teachers can assign tasks and assignments, and students can add comments and tag the teacher to ask questions or request support. The digital notebook releases students from the burden of carrying pens, pencils, and a notebook/stack of papers. Further, this online book allows students to integrate text and media, which is viewable to both the student and the teacher. The digital notebook also allows students to do their work from any device and at any time, create artifacts of their learning, reflect on their learning, and much more. The creator of the notebook can also share it with as many people irrespective of their location.
In this tutorial, you will learn to create a digital notebook with Google Slides.
Step 1: Open Google Drive and create a new Google Slides deck.
Step 2: Give a name to the Google Slides deck. It is recommended that teachers share a new digital notebook template at the start of each unit with students. This makes it easy to customize the content for a specific unit.
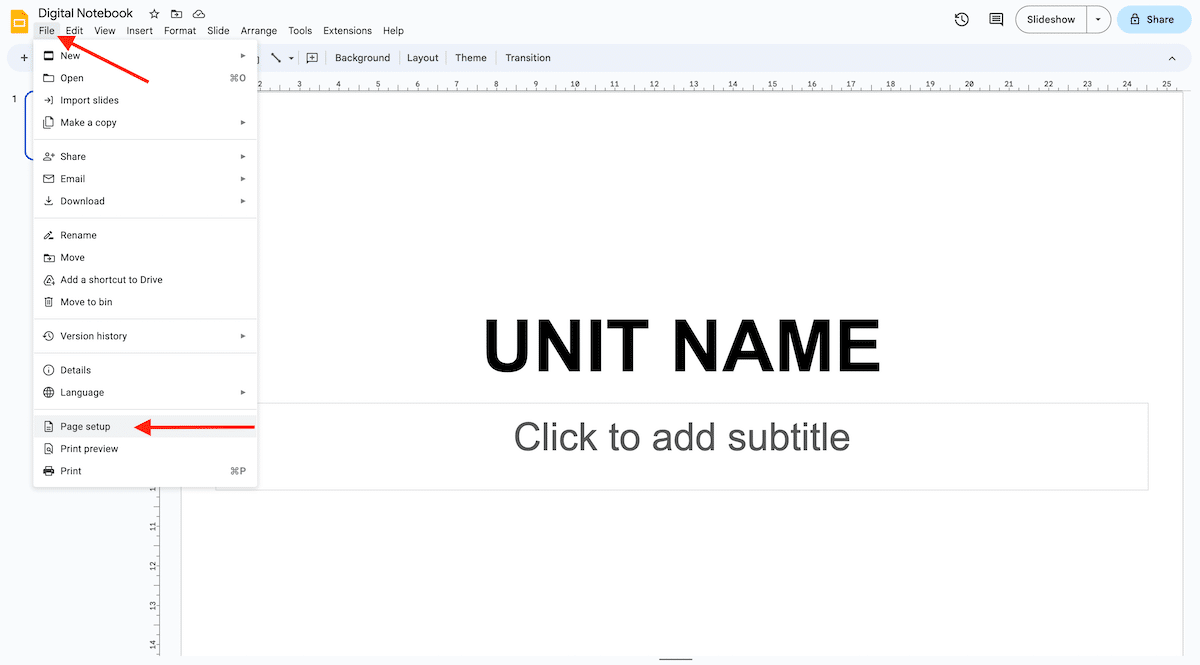
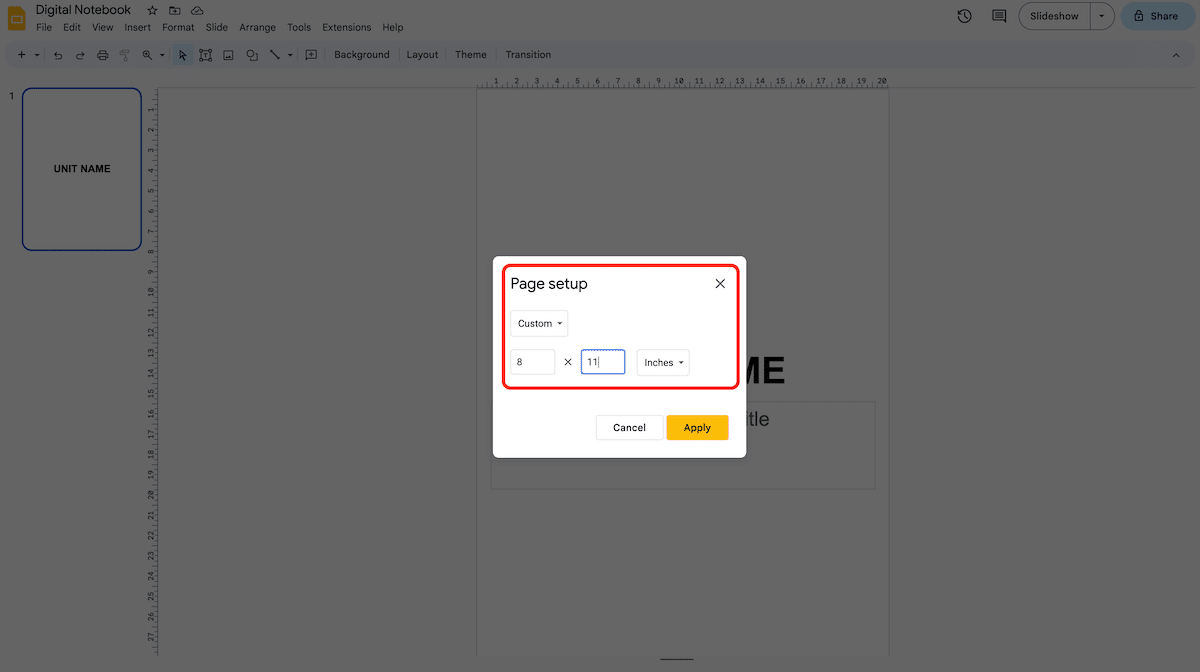
Step 3: Customize the Google Slides deck by following the command: File > Page Setup > Widescreen > Custom. Go with the 8 x 11 inches to make the slide look like paper.
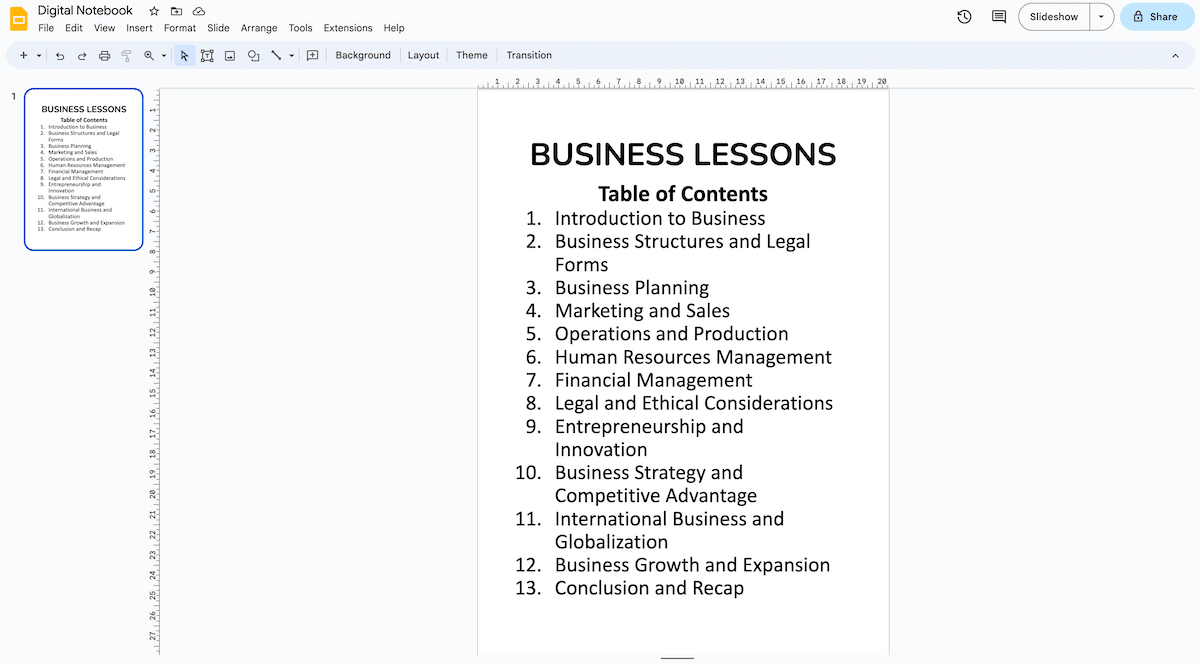
Step 4: Add a table of contents and list the sections of the digital notebook.
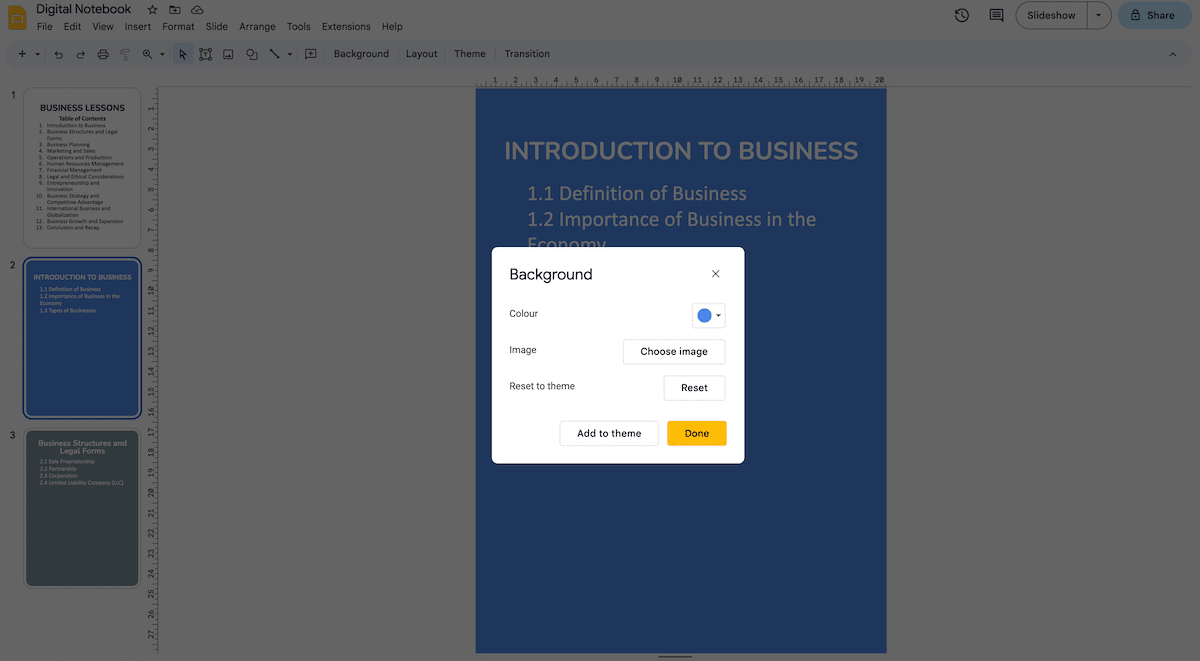
Step 5: To keep each section of the notebook separate, add a title slide and give the heading (e.g., Introduction to Business). To make the notebook more appealing and exciting, you can change the background colors of the title slides. It will also give students a cue that they are entering a new section/chapter.
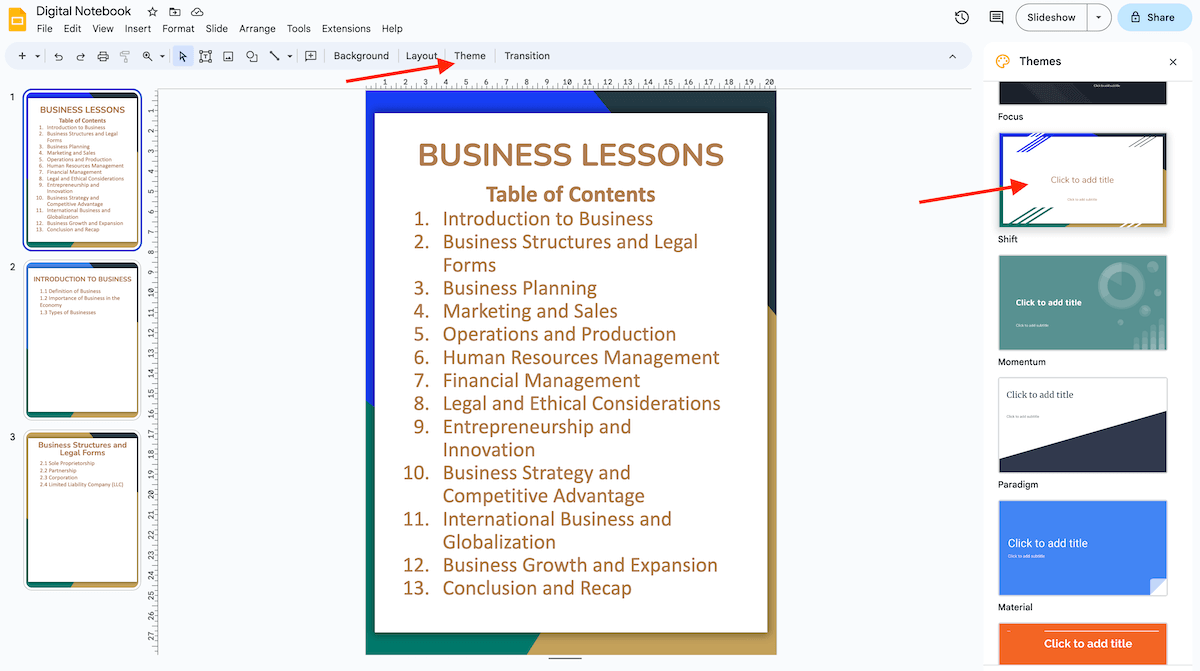
Google Slides offers a wide range of free themes for you to choose from. You have the flexibility to easily change the theme according to your preference.
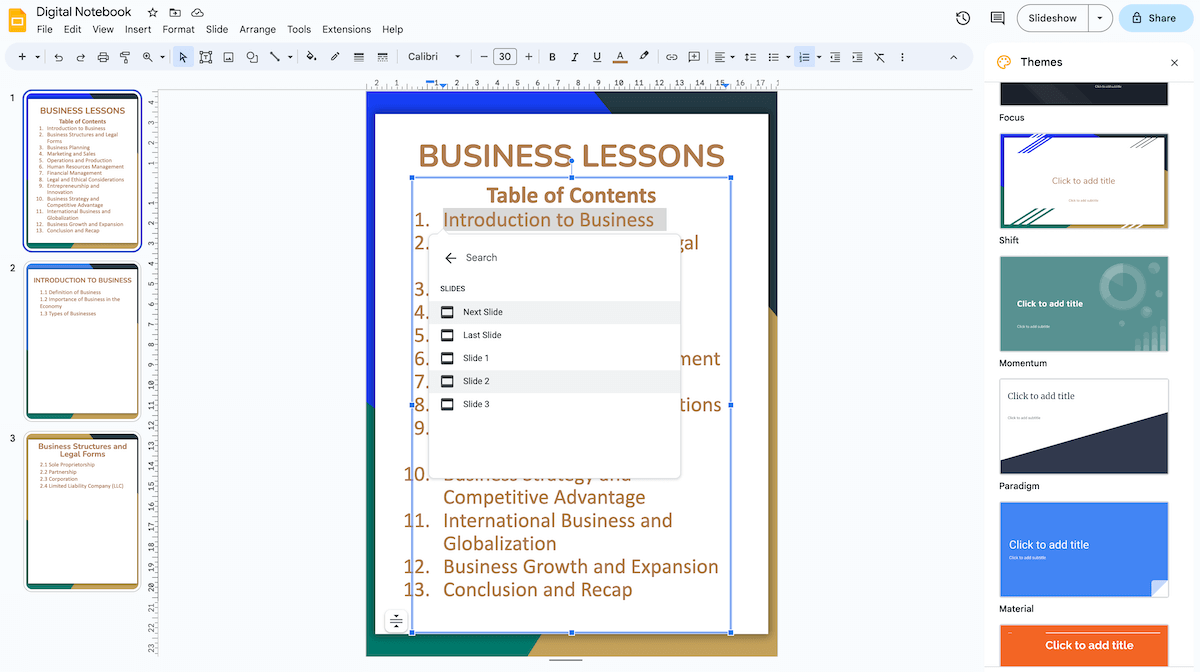
Step 6: Link each item in the table of contents to help students quickly add and retrieve information.
- Highlight the specific section listed in the table of contents
- Ctrl + K to add a link
- Select the slide from the presentation which you want to link.
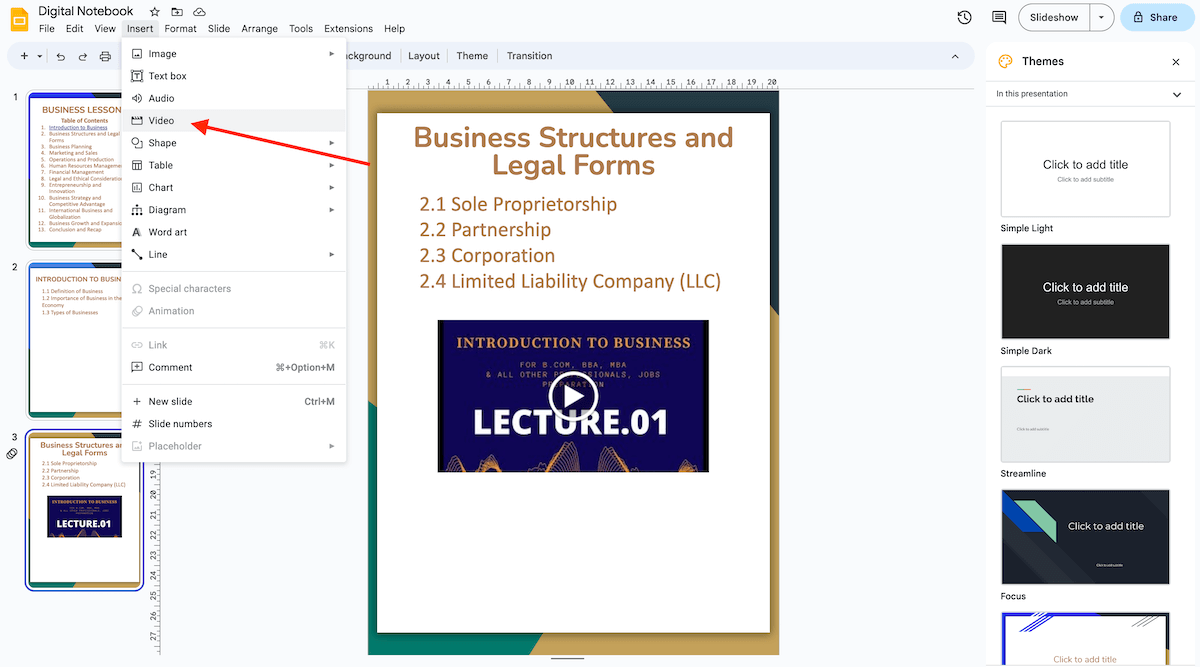
Step 7: Add the media file according to your needs. You can also add videos, customize them, and pair them with the task.
- Click Insert to add videos
- Select the video, and click Format to customize the timing of the clip you want to insert.
- Pair the video with the task.
Step 8: After completing this notebook template, share it with students through Google Classroom and select ‘Make a copy for each student.’ You can quickly access the individual student’s notebooks to check their progress, provide feedback, and more.
Hurray! You have learned how to create digital notebooks with Google Slides. Using this guide, you can make learning more fun and easier for the students. Keep following us for more such guides!


