
A good presentation is a combination of captivating visuals and informative text. However, if both elements overlap each other in the slides, it makes the presentation seem unappealing and untidy. To avoid this, it is best to wrap the text around images and other elements on your slides.
Even though PowerPoint has an option to wrap text, Google Slides does not. This can be done in the latter by carefully positioning the text boxes around the image. Let us understand through this tutorial.
Steps to Wrap Text in Google Slides –
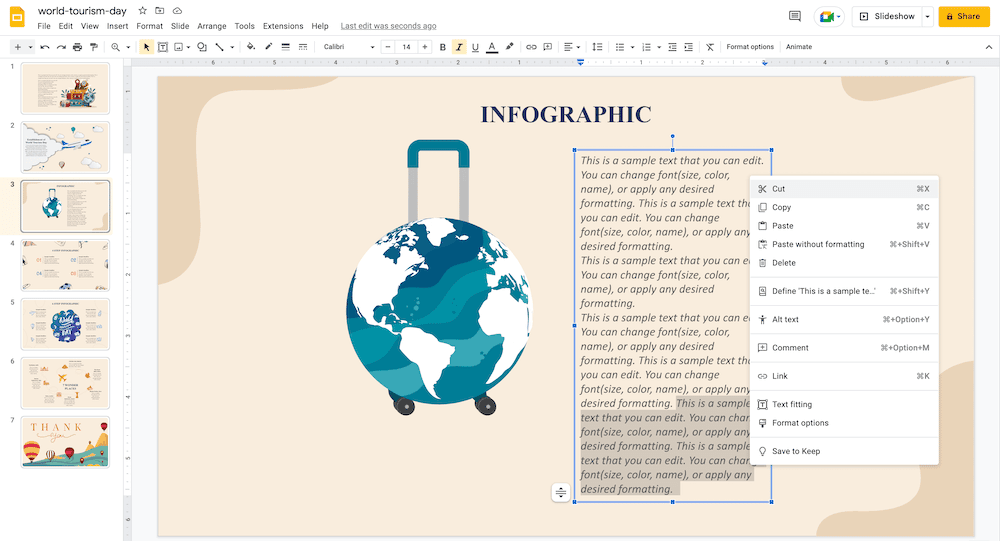
Step 1 – Start by selecting the text box and cutting the part of the text. You can cut using Ctrl + X or selecting the ‘Cut’ option on the edit menu.
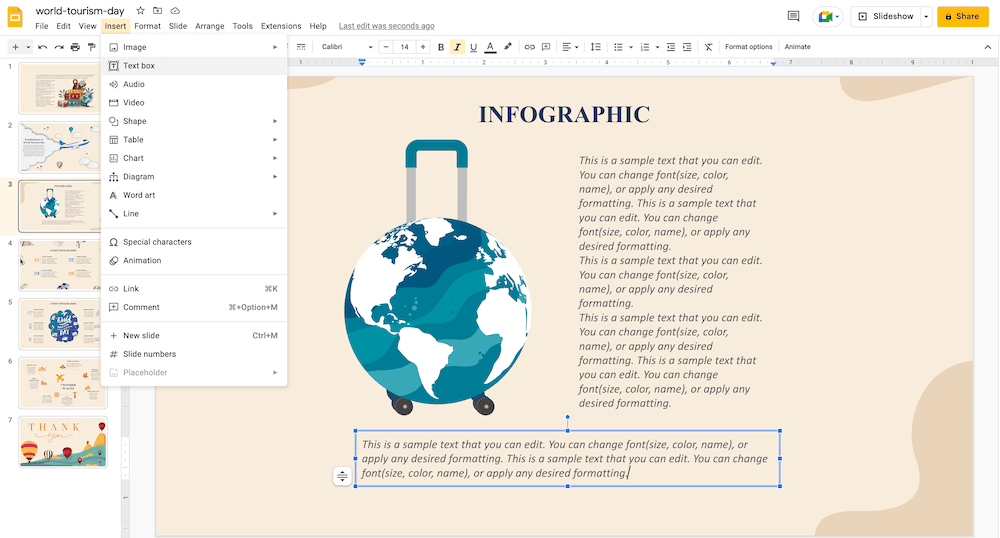
Step 2 – Add a text box to insert the text that you’ve cut. For this, go to the ‘Insert’ option on the toolbar, and select ‘Text Box.’ You can now drag the cursor to draw the box.
Step 3 – Paste the text cut earlier, using Ctrl + V or clicking on the ‘Paste’ option on the edit menu.
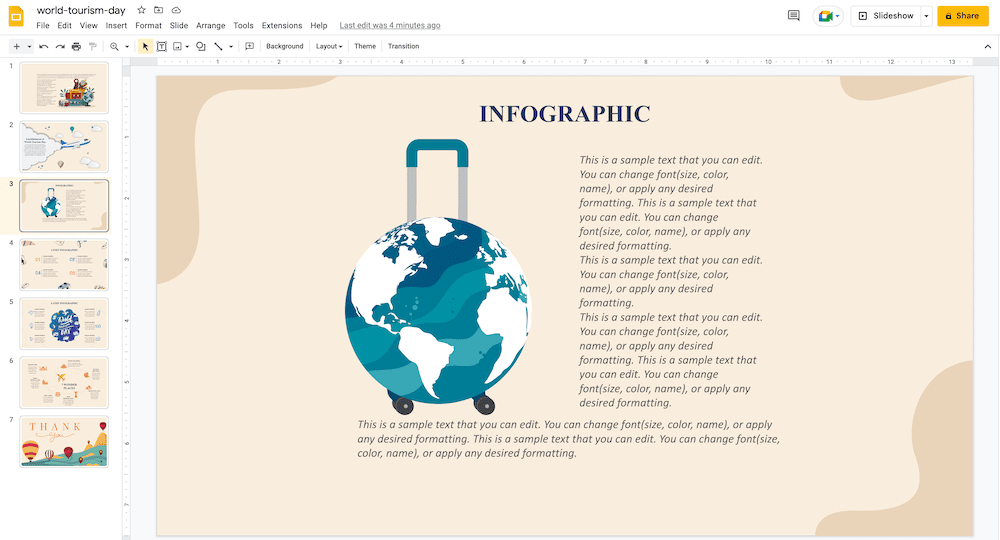
Step 4 – Using any one of the handles of the text box, change its size according to your slide. It will allow you to adjust the position of your text.
We hope this article helps you make your slides well-structured. Stay tuned for more tutorials!


