
Google Slides is a powerful tool that helps craft remarkable presentations to grab the viewers’ attention. It has various features that make presentation creation absolutely effortless for the presenters. One of the features is adding a bulleted or numbered list in slides. By incorporating these lists, you can provide a structured look to the content, highlight the crucial sections, and improve the readability of your slides.
To know how to add numbered or bulleted lists to a Google Slides presentation, follow our step-by-step tutorial.
Creating a Bullet or Numbered List
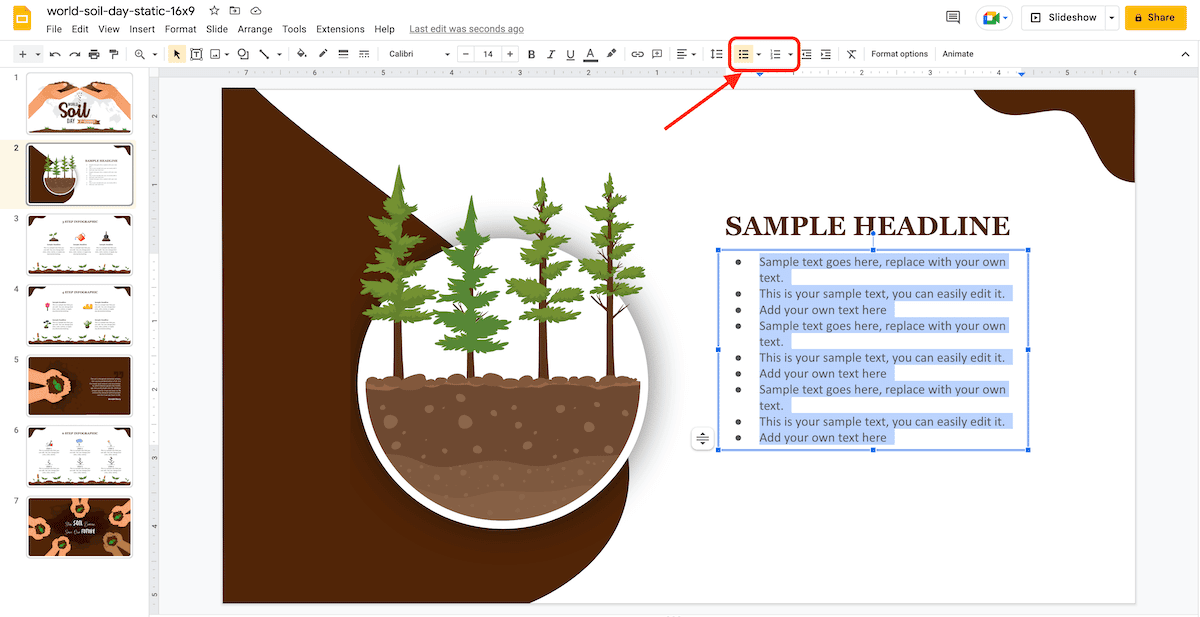
Step 1: Open your presentation and select the text box where you want to place a list.

Step 2: Click the Numbered list or Bulleted list button on the toolbar and create a list.
Step 3: After creating a list, press Enter twice to close it.
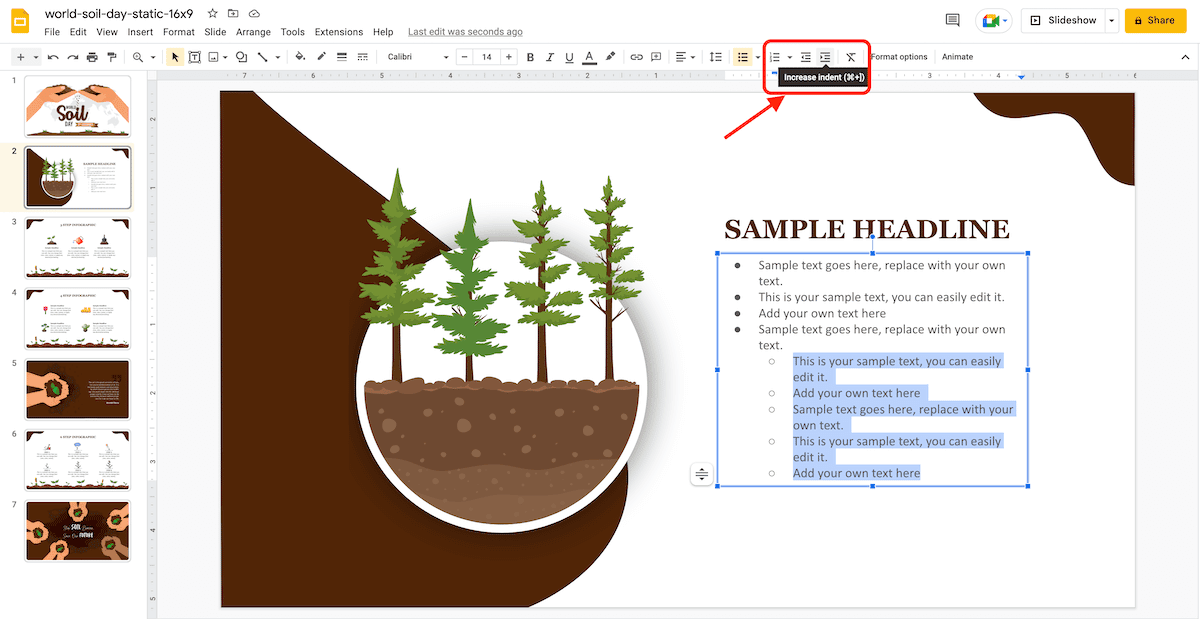
Step 4: To start a sublist inside the list, press Tab. If you want to return to the main list, click Enter twice.

Step 5: Press the Increase indent or Decrease indent button to take a line to your sublist or return it to the primary list.
Changing the Format of a List
Step 1: Open the presentation in Google Slides and click on the number or bullet in a list.
Step 2: Click Format > Bullets and numbering.
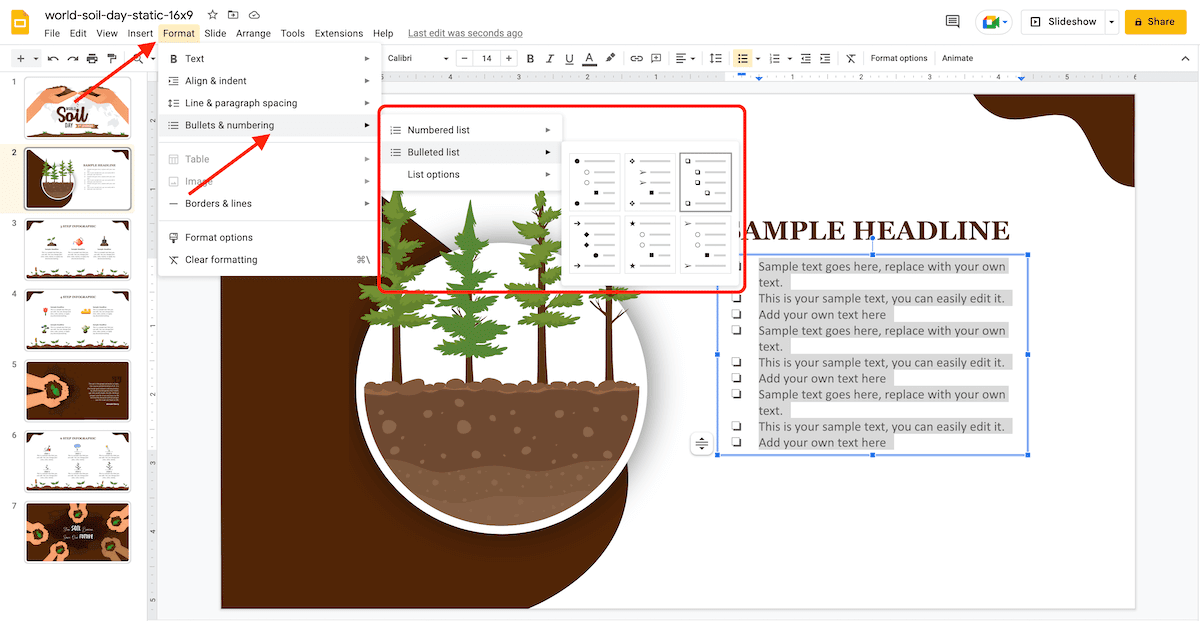
Step 3: A list will open with different designs of Numbered lists and Bulleted lists.
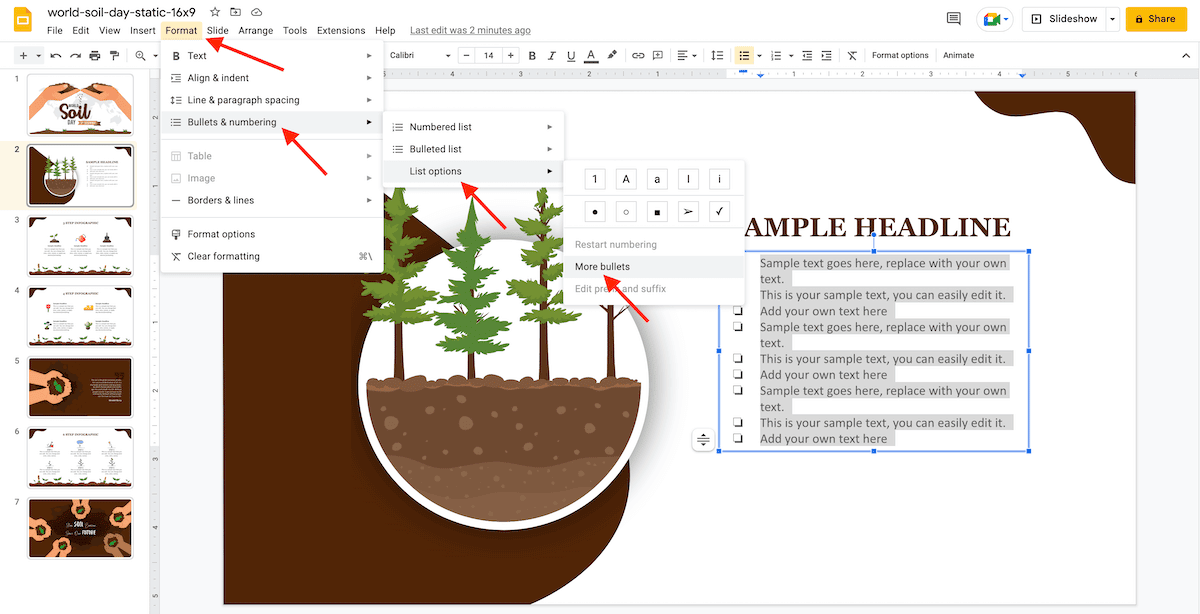
Step 4: To add a suffix or prefix to a numbered list, click on the “List options.” A text will appear after or before the numbers. You can restart the numbers on your list or change the character or bullet for a list.
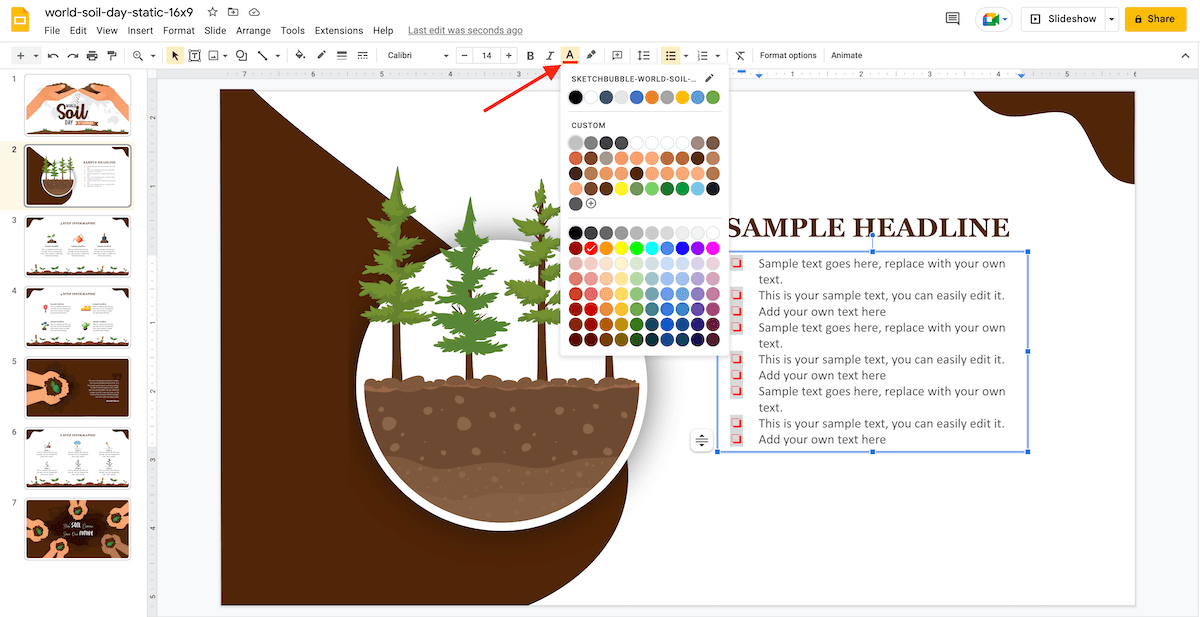
Step 5: To change the color of numbers or bullets in a list, select it, click on the Text color button on the toolbar, and choose the color of your choice.
You’ve learned an easy way to insert a bulleted or numbered list in Google Slides. Use it to create captivating presentations, and stay tuned for more tutorials!


